What works for coins, works for other things such as email just as well. In an effort to make the web more secure, people of the Bitcoin community have created the first P2P communications protocol to send encrypted messages!
In this article, we are taking a closer at how to set up Bitmessaging and why you should start using it if you want to NSA-proof your computer.
Starting Bitmessage For The First Time
Download Bitmessage from https://bitmessage.org/wiki/Main_Page
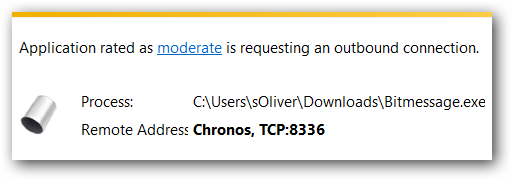
When you are first starting Bitmessage you may be asked by your firewall to allow access on port 8336 – that’s perfectly fine. Allow the access:
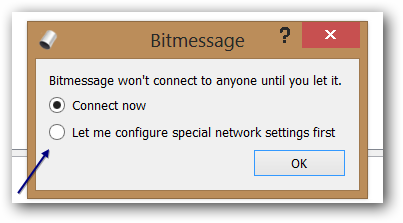
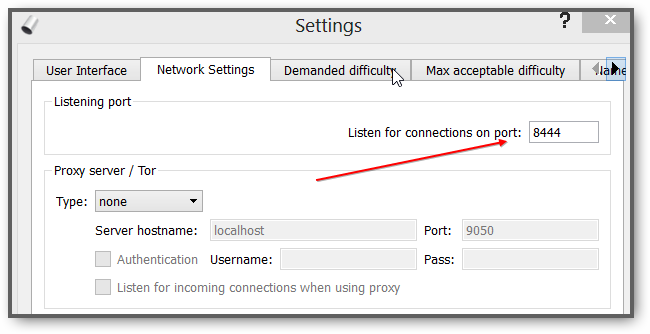
On startup you will be asked to connect – however if you first want to take a look at the settings I recommend to pick the later option and configure the settings first e.g. the listening port:
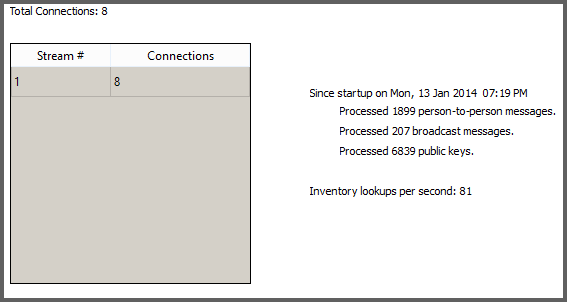
After you start the app, go to the tab Network Status to see how much info the app is processing:
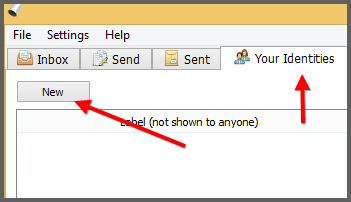
Adding A New Identity To Send Encrypted Messages
Go to the tab Identities and click New
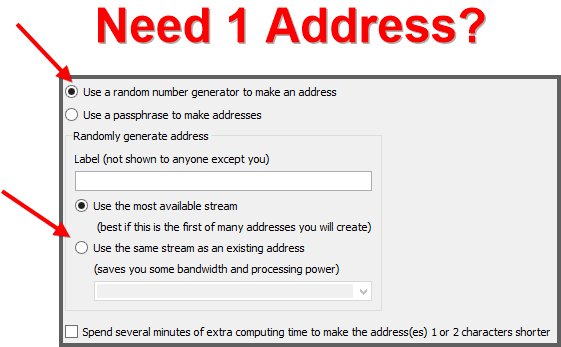
The following settings should be customized, depending on how many addresses you want to add. If you only need 1 use the 2nd option “Use the same stream as an existing address” to save some computing power.
Alrighty, we are done. Share this address with others so you can receive encrypted messages:
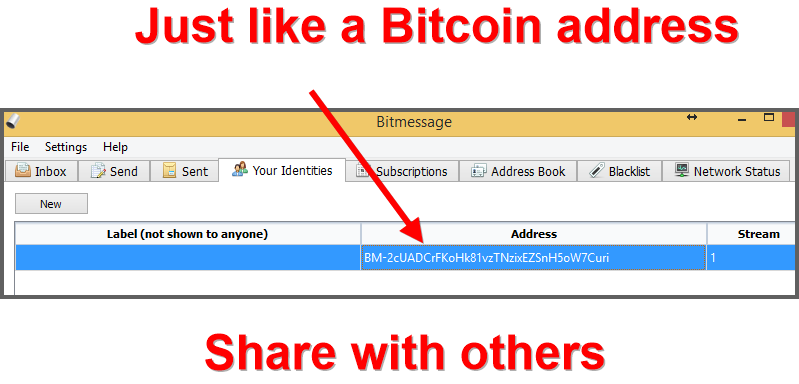
For easier handling you SHOULD enter a label:

After adding a label you can pick this label when sending an encrypted message:
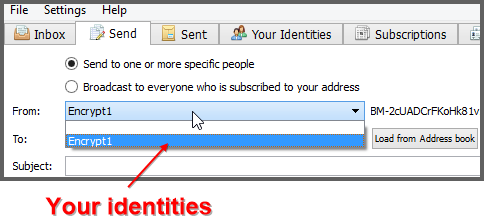
Neat!
Want to help and contribute to the Bitmessaging network? Great, let’s move on:
How To Contribute? Get A Green Status Indicator!
You will connect to various nodes with the program. In general, everyone can be a node and help process encrypted emails. So if you let it run and allow incoming connections you are contributing to the Bitmessaging network (Source)
Make sure to configure your firewall to forward the correct ports and allow incoming connection on the port (see settings screenshot below)
You can change the listening port in the settings. The default port is 8444:
Bitmessaging can expose your actual IP to other parties. You could use a VPN to migate some of the risks if you don’t want to expose your direct IP address, however you can’t allow incoming connections then and you can’t help contribute behind a VPN or behind Tor.
Additional Resources
- Part 1 – General
- Part 2 – Remove UserAssist Entries
- Part 3 – Clean Paging File When You Shut Down
- Part 4 – Private Browsing
- Part 5 – Tor vs VPN
- Part 6 – Cryptic Fonts And Virtual OS’s
- Part 7 – Set Up Bitmessaging
- Part 8 – Flash Cookies
- Part 9: Installing Tails on Raspberry Pi
- Creating encrypted containers

