Another tutorial for web enthusiasts who want to install MySQL on their Windows 7 PC’s.

MySQL has turned out to be one of the most important and effective database management systems recently and has the capability of backing powerful systems despite being an open-source development. Installing MySQL on Windows is pretty easy through XAMMP. Here is how you can do it:
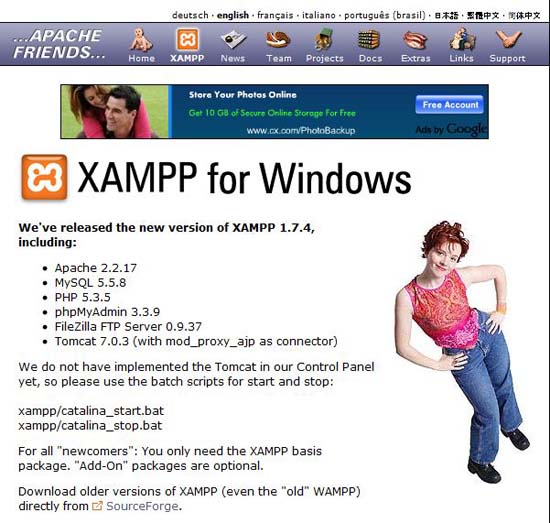
1. StepGo straight to http://www.apachefriends.org/en/xampp-windows that is the open source project through which you can install MySQL on your system. XAMMP allows you to make use of MySQL on your local machine and connect it with software and applications.
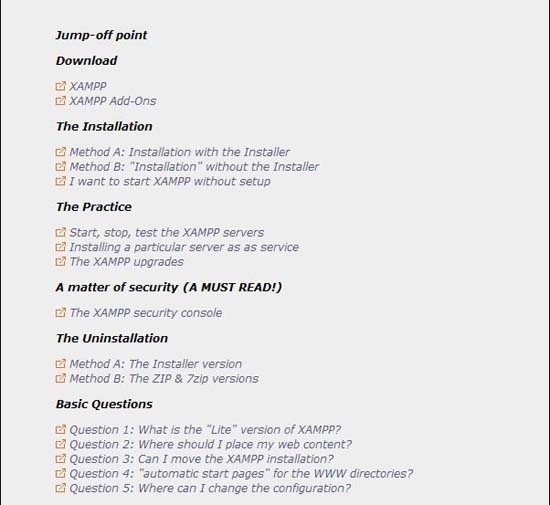
2. StepThe main interface of the website provides you with different jump off points from where you can select to download XAMMP or move to other sections of your choice. Click on the XAMPP link.
3. StepThe XAMPP download section lists three forms of download the smallest of which is the 7zip format. Installer format is universal therefore I suggest you download the installer version.

4. StepRun the installer from the downloads folder where you originally saved the installer file.
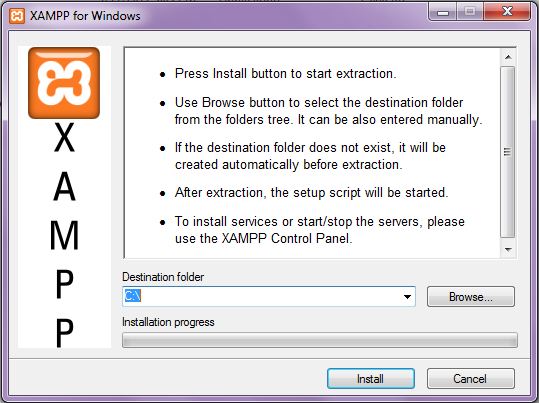
5. StepBrowse through the hard disk drive and select the location of your choice.

6. StepClick on the install button to start the installation of XAMPP on your system.
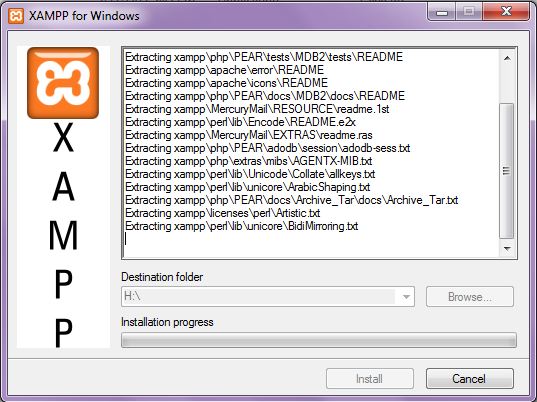
7. Step
Once installed in the specific drive, browse through the folder named XAMPP.
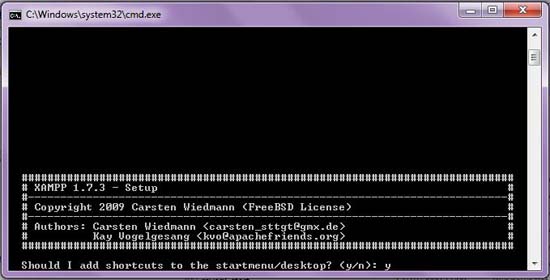
8. StepStart setup_xampp Windows Batch File. Press “y” to opt for desktop shortcuts and start menu shortcuts.
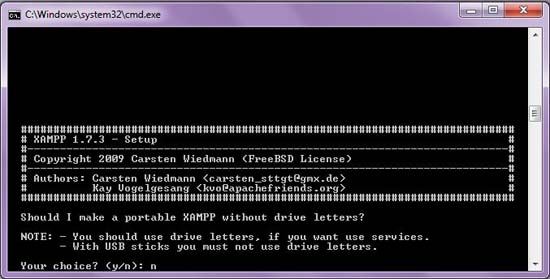
9. StepThe install setup will ask you for a portable option for XAMPP but for the desired feature of using MySQL on your system, you don’t need that option. A “n” would simply skip the process.
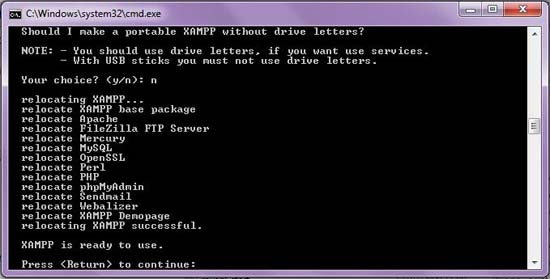
10. StepSetup_xampp Batch File is going to install XAMPP on the location of your choice and a simple “Return” key stroke will finalize the installation.
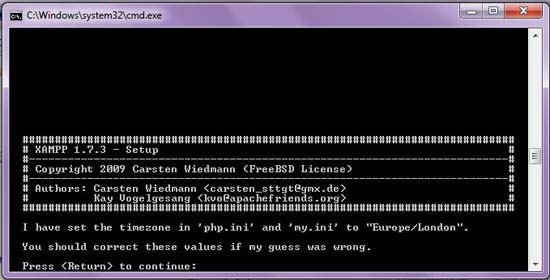
11.The installation file will automatically set parameters, time zone and location. You still have the option to revise that. Once satisfied, you can press “Return” to go ahead.
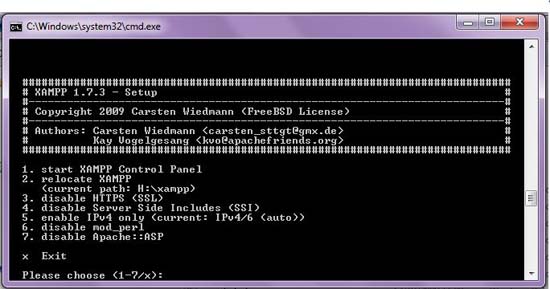
12.The start menu is going to give you several option out of which the first one would be to Start XAMPP Control Panel. Enter “1” and hit “Return”.
13.You can start the MySQL Service checking the Svc check box adjacent to MySQL.
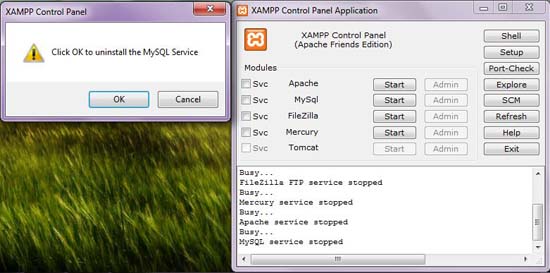
14.After starting the service, click on Start to start MySQL Module.

15.You can now use MySQL and connect it to any application or software around your system or on a remote location.
In case, you did not follow any step or need further assistance. You can post your questions below and we will get back to you as early as we could.

