If you want to know how to keep Windows 8 from sleeping, here’s a little guide that explains it.
Why would you keep Windows 8 from sleeping?
As a computer user who works on Microsoft Windows at home, sometimes it might be quite irritating that whenever you leave your system alone for a couple of minutes it automatically goes to sleep mode and you are required to press some keys in order to wake your system up again. In production environments this configuration, which is by default set as 30 minutes, might be quite useful as it may prevent a decent amount of power supply and indirectly is helpful in saving funds. However as a home user you might sometimes want to disable this in order to avoid the annoyance that it creates.
Therefore, as a Windows 8 user if you want to prevent your operating system from getting into sleep mode you are required to follow the steps given below:
1 Logon to Windows 8 computer with account that has administrative privileges.
2 Click on Start button and from the available options click on Control Panel.

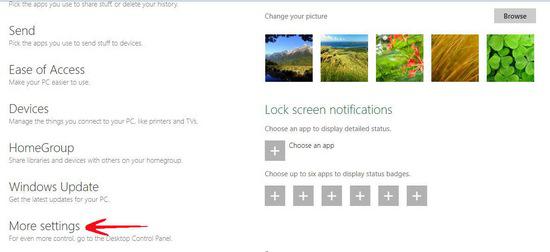
3 On the opened Window click on More Settings from the list in the left bar.
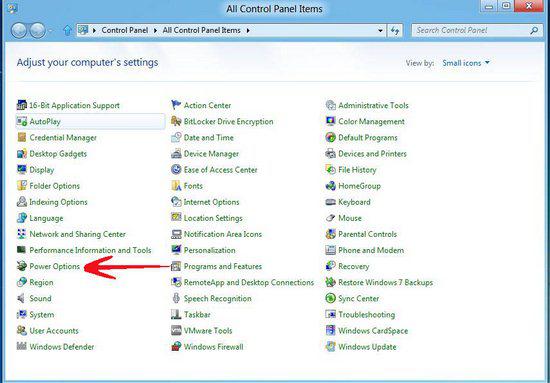
4 On the next Window click on Power Options icon.
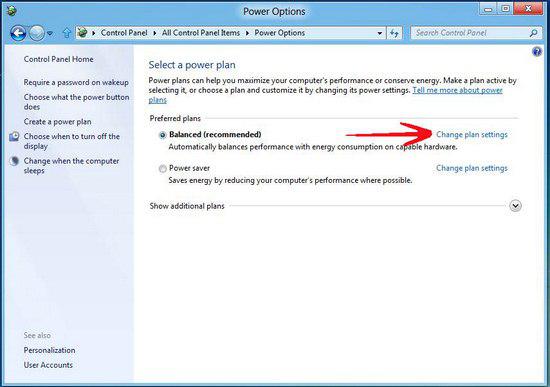
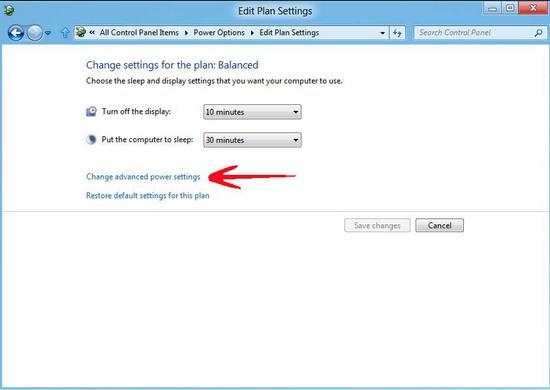
5 On Select a power plan Window click on Change plan settings link in front of the category which is selected by the radio button, for example Balanced (recommended) in this example.
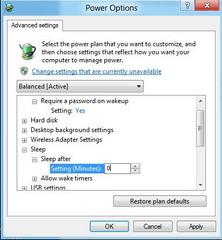
5 On next Window click on Change advanced power settings link.
6 On Power Options box expand Sleep from the available list and then expand Sleep after.
7 Click on the available link and in Settings (Minutes) field input value 0 to disable sleep completely.
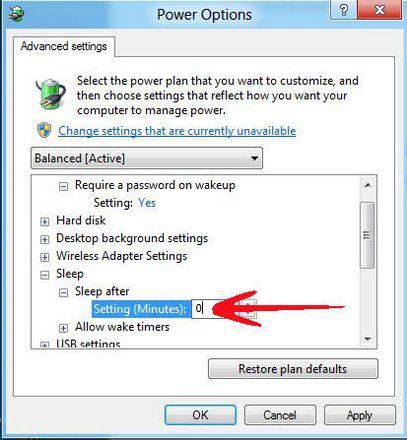
8 Click on Ok button when done.

