Adding/deleting network locations in Windows 7 is easy. Another tutorials for Windows 7 beginners.

Adding network locations in Windows 7
Network Locations are folders or drives shared on a network. Windows 7 provides easy sharing and access to Network Locations on the Network. The following steps will guide you how to add and delete a Network Location.
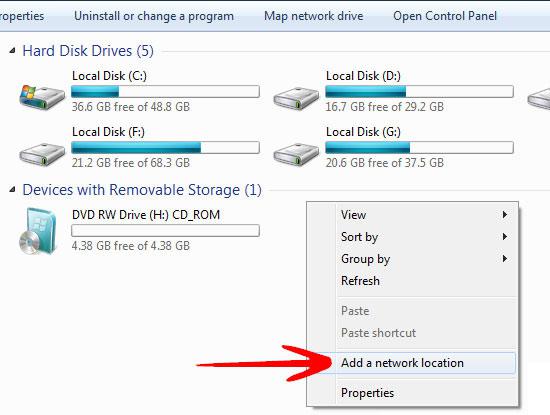
1. Step Go to Start Menu and select Computer.

2. Step Right click and select Add Network Location.
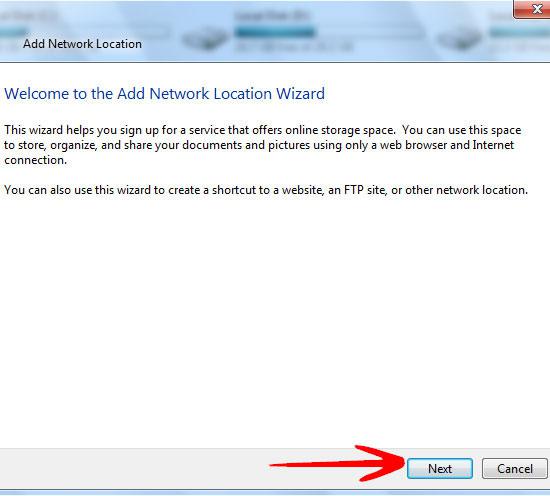
3. Step The Add Network Location wizard will pop up. Click Next to continue.
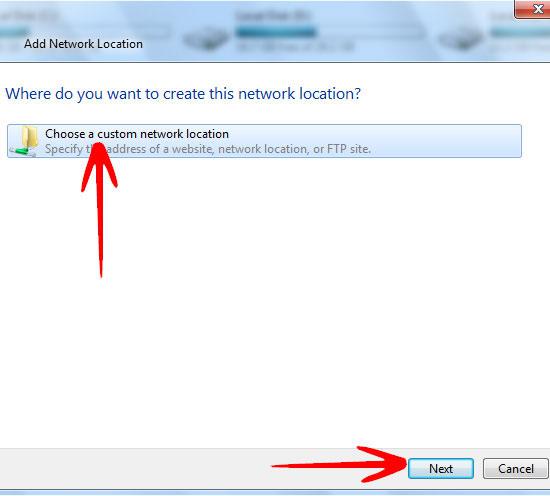
4. Step It will ask Where do you want to Create a Network Location. Click on Choose a custom network location.
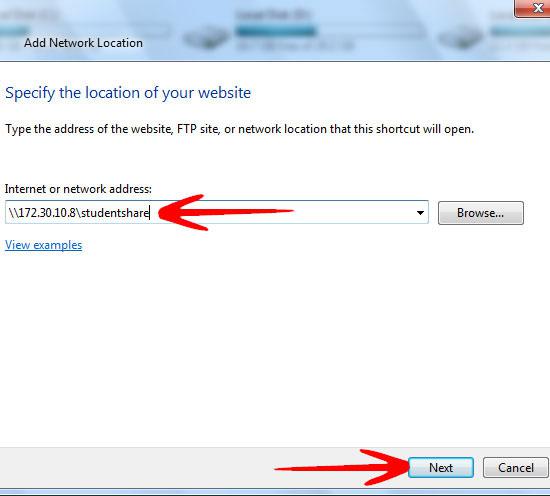
5. Step Next you have to enter the address of the network location you want to add. Here we provided the address and folder that we want to connect to. Click Next.
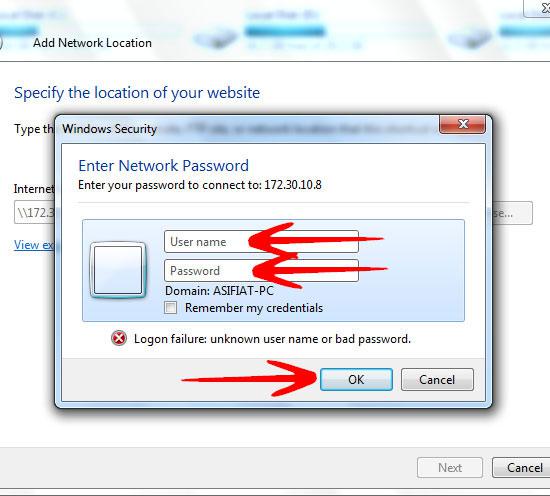
6. Step For password protected network location, the window will appear asking for username and password for the share. Click OK when Done.
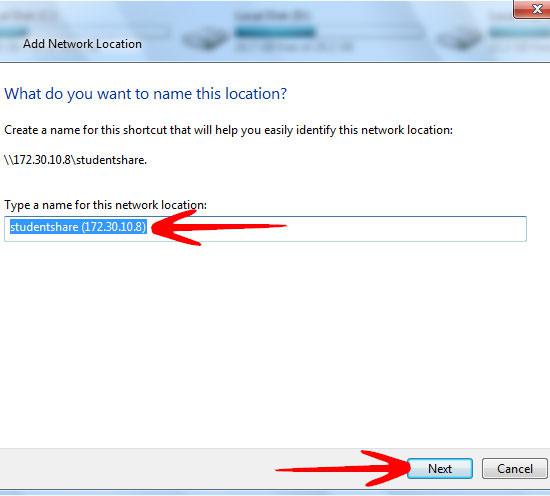
7. Step It will ask for the name you want to keep for the Network Location. Click Next when Done.
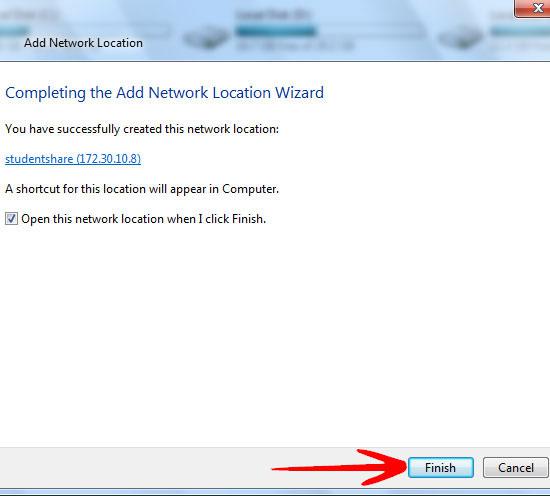
8. Step Click Finish to complete the Add Network Location Wizard.
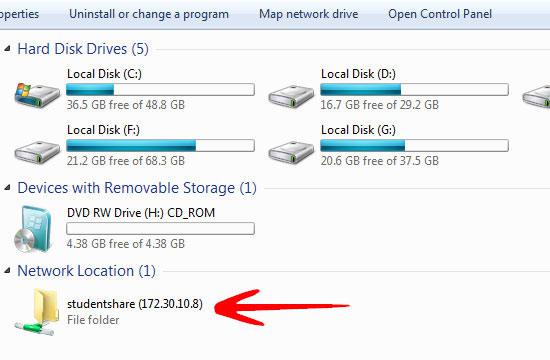
9. Step The Added Location will now be visible on the Computer Window.
Delete Network Location in Windows 7
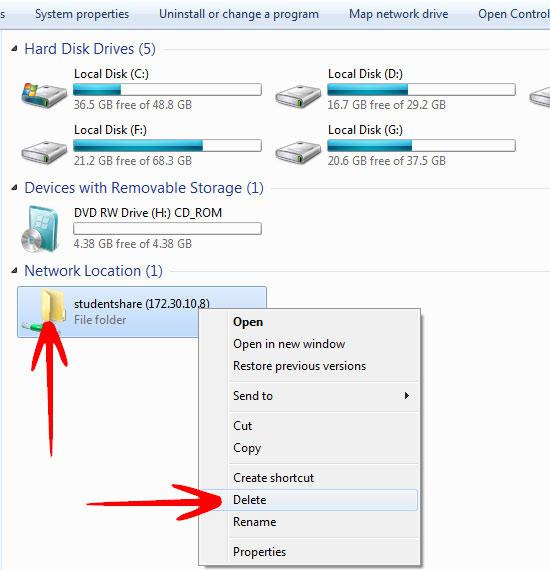
10. Step Deletion of Network Location can be done from My Computer. Right Click on the Network Location you want to delete and select Delete.
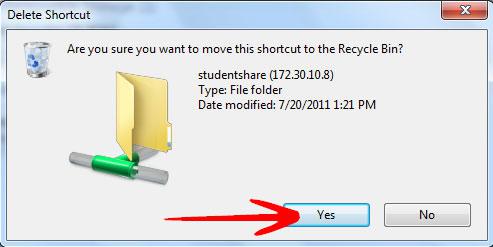
11. It will ask to confirm the deletion. Click Yes.
A Network Location provides you a shortcut to access the shared resources over the network.

finally got it going!