To create shortcuts in Windows 7, you don’t need really need 3rd-party tools, but some tools come in handy for managing a lot of shortcuts. Creating shortcuts can help you to improve your productivity dramatically. If you don’t know all of them you should at least learn all Windows 7 shortcuts.

Method 1: Create shortcut via icon properties
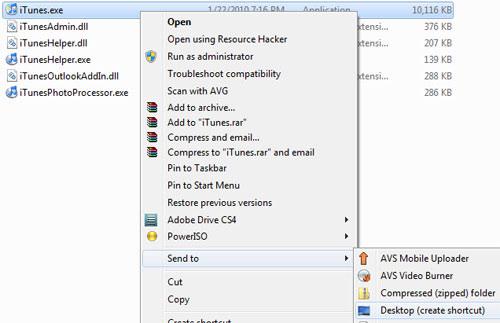
Let’s say you want to create a shortcut for iTunes. On your desktop you will probably have a desktop shortcut icon to iTunes already [if not create one: right-click on iTunes.exe in your iTunes folder and click on “Send to” – “Desktop (create shortcut)”].
Then right-click on your newly created desktop icon and click on “Properties”. On the following window you can assign a shortcut for that desktop icon.

Simply type in a key that you want to use as a shortcut, e.g. “I” for iTunes. Your assigned shortcut will be CTRL + ALT + I then (sorry about the picture it says STRG instead of CTRL).
Method 2: Create shortcut via software
There are plenty of shortcut and hotkey managers out there. Some of them support Windows 7. WinHotKey is one of those tools:
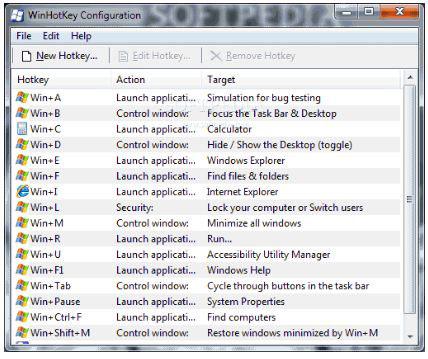
You can assign a shortcut to any command or application, but you can’t remove built-in shortcuts, e.g. Windows + R for “Run..”
This handy tool will help you to manager all your shortcuts and remember them, you can download it over at Softpedia.

