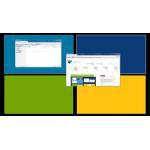
 Virtual desktops can be quite useful – it’s never easy to manage a lot of windows, and breaking them down into separate groups can make computer work more efficient and productive.
Linux isn’t the only OS featuring multiple virtual desktops – Windows can do it very well, too.
Setting up virtual desktops in Windows using Dexpot
Linux and Unix based operating systems have always had virtual desktop capabilities, with Windows being as always behind them in this regard. However, it has become really easy to add this feature to Windows using third party software, and Dexpot is one of the best tools on the market. It’s completely free, and the level of stability and integration with the system is simply amazing.
Achieving the best virtual desktop experience with Dexpot
Out of the box, Dexpot is a great package, but you will definitely want to look into the Settings menu and change some things to make it better and more personalized. Here’s how to achieve the best virtual desktop setup with Dexpot:
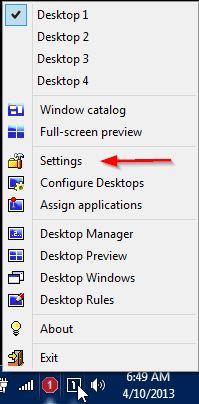
1. Step After installing the program, it should automatically start – if not, start it manually using the icon on the desktop or in the Start Menu. Then, right click on the program icon in the system tray in the lower right corner and click on Settings to enter the settings menu:
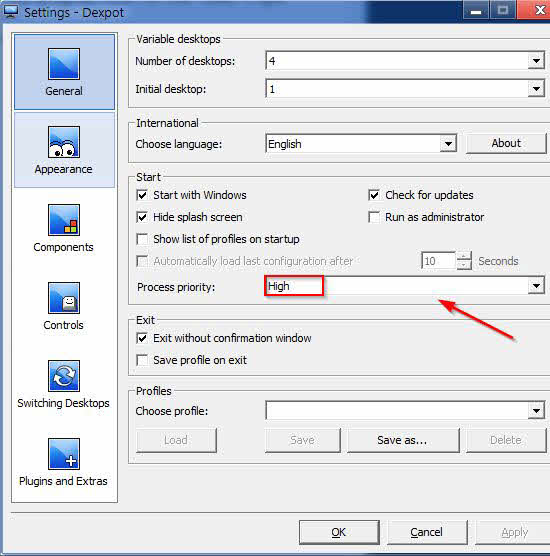
2. Step You’ll see plenty of options here. The General tab lets you choose the number of virtual desktops you’ll have – use only as many as you need, as they use more RAM as you go higher.
You can hide the splash screen at startup, create and load profiles, set autostart options and more. The one thing I recommend changing is the process priority – setting it to “High” or “Realtime” will make the virtual desktops more responsive and generally faster, especially under heavy load.
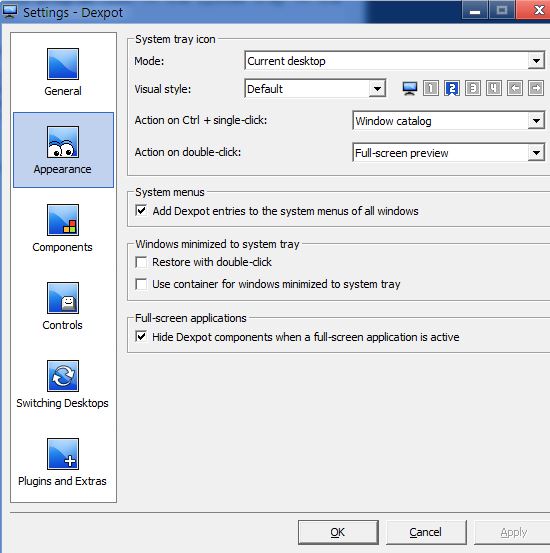
3. Step The Appearance menu lets you set the appearance of the system tray icon and configure the system menus.
You can personalize this to your needs, with the only thing I recommend leaving checked being the “Add Dexpot entries to the system menus of all windows”, which adds Dexpot menus when you right click on a window’s title bar, and “Hide Dexpot components when a full-screen application is active”, which makes Dexpot invisible and mostly inactive when you play a game, watch a movie or use any other full screen program.
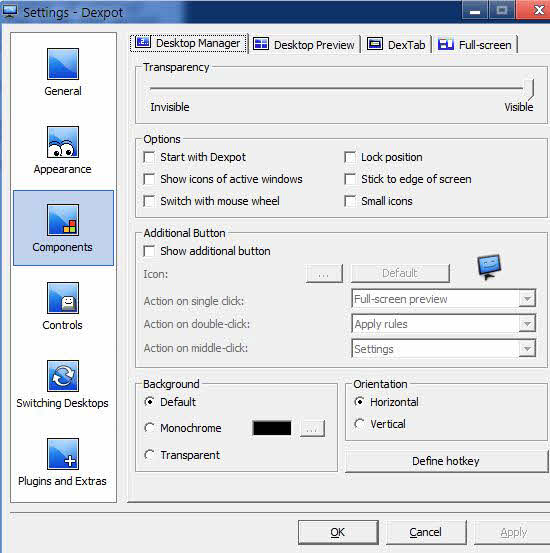
4. Step The Components menu lets you configure options for the main Dexpot components, which are Desktop Manager, Desktop Preview, DexTab, Full screen desktops preview and Window Catalog. I suggest you leave these at their default settings as they are very well configured already, but you can of course customize them to your needs.
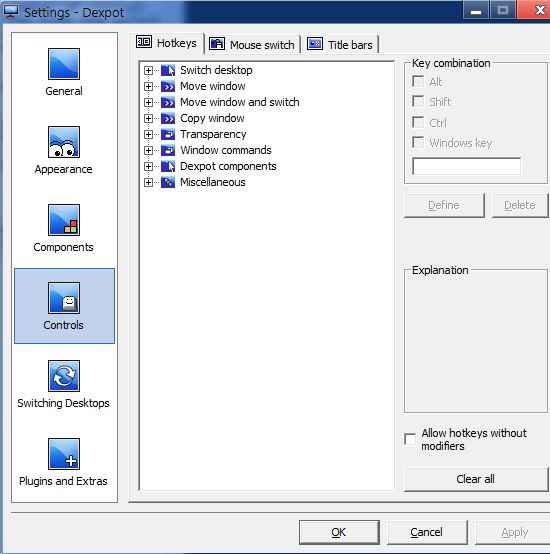
5. Step As the name implies, the Controls menu lets you customize the controls and hotkeys to be used with Dexpot. I recommend you set your own hotkeys, as the default Dexpot ones are pretty hard and unintuitive – there’s plenty of controls to be set, and sometimes the hotkeys may overlap, so you can just completely disable the hotkeys for the features you don’t use
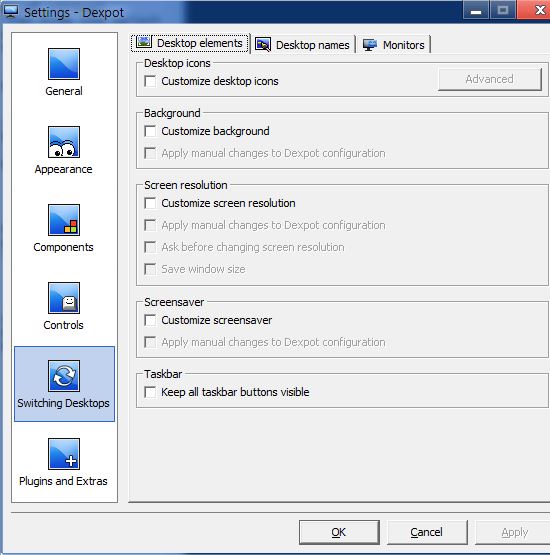
6. Step The Switching Desktops settings lets you choose the monitors that will be active for Dexpot – you can have 4 virtual desktops spread across two monitors, or a dedicated desktop on the 1st monitor and 4 switchable virtual desktops on the 2nd monitor, which is very convenient.
It also lets you set Desktop Names for a more intuitive navigation, set options for the desktop icons and customize each virtual desktop’s resolution and screensaver.
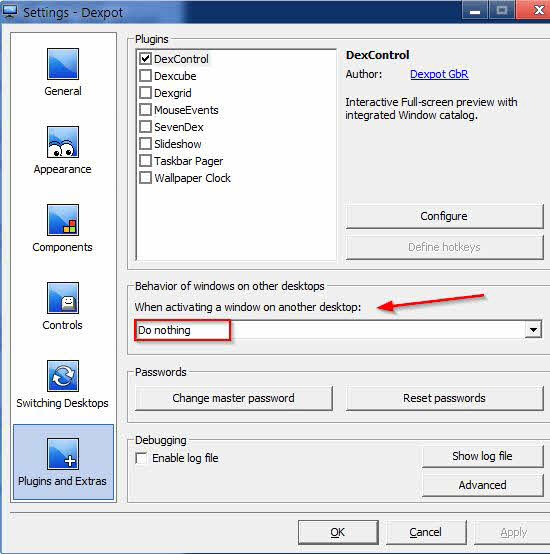
7. Step Last but not the least, the Plugins and Extras menu lets you select a few optional plugins to activate, of which I can only recommend DexCube if you want to make the virtual desktop transitions prettier, but overall the plugins consume more resources, make the system slower and worse, are prone to crashing, so I suggest you leave them disabled. The one setting that is very important here is named “When activating a window on another desktop”.
My opinion is that it’s best to set it to “Nothing” – this makes the virtual desktops and their windows pretty much completely separated, while the default setting copies a window from a background desktop to your current one if it has a notification or is just activated by some process. That is very annoying – but if you really need to see these windows right away, you can set the option to “Switch to the respective desktop”.
Conclusion
Now all you have to do is click Apply or OK and you’ll get the best virtual desktop experience possible on Windows – Dexpot works best on Windows 7, but it’s also great on Windows 8 – be sure to try it out!

