 Windows 7 has a built-in backup feature that you may want to use to create an entire system image of your OS
Creating a system image of Windows 7 OS is a great emergency plan that you are putting in place in case something goes wrong with it in the future. Due to the powerful system image and backup applications pre-installed in Windows 7 features, you need not to have any other 3rd party program specifically installed for this purpose.
The backup utilities are not only impressive, they are quire efficient in restoring your computer to an early time. There are times when stubborn errors could malfunction completely corrupt Windows 7. At times like these, you need to be safe from any hassle by already having a system image of Windows 7 OS from which you can easily restore your Windows. Here is how to create a system image of Windows 7:
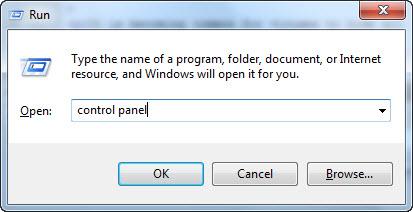
1. StepOpen up Control Panel in Run.
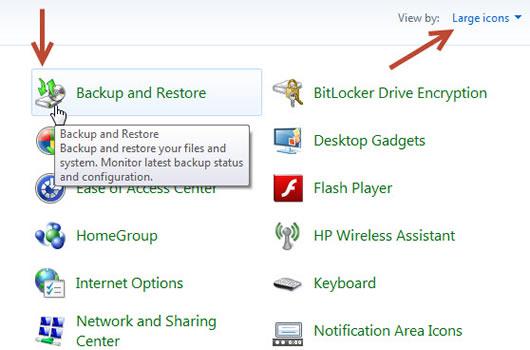
2. StepClick Backup and Restore
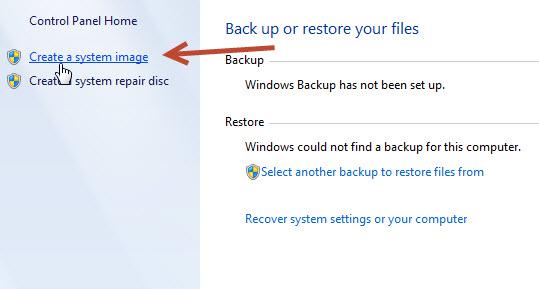
3. StepNow click on Create a System image
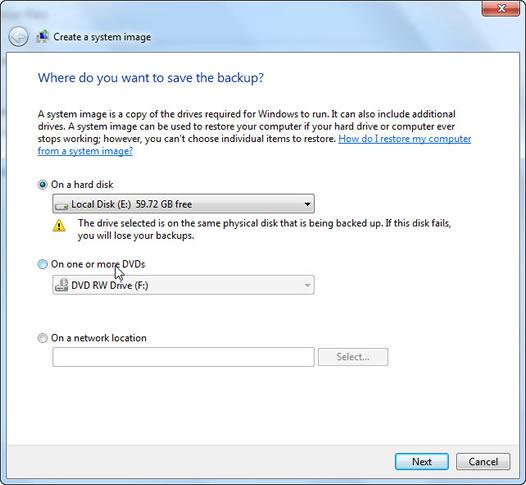
4. StepIn the next window, specify the external hard drive where you want to save the backup. Do not save the system image on the same hard disk. You can select the 2nd option On one or more DVDs or a Network location. It is better to save on an external hard disk instead of using several DVDs for system image.
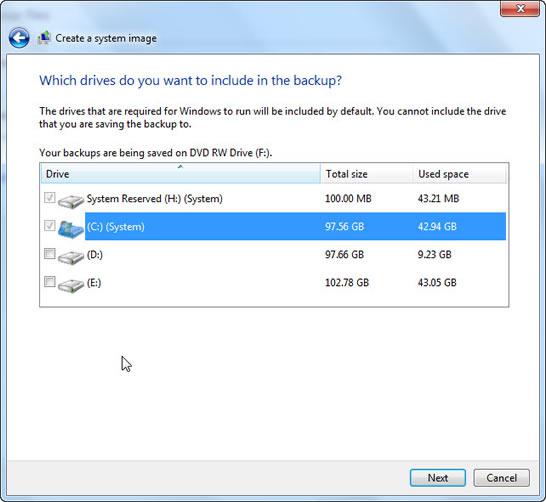
5. StepSelect the Drives you want to create backup for:
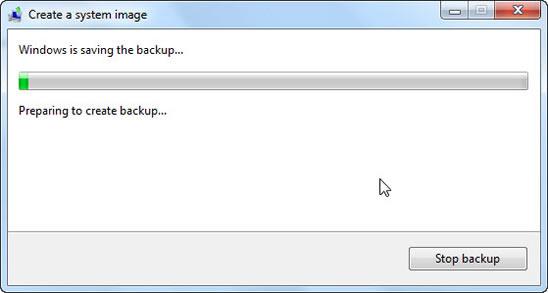
6. StepConfirm Backup by clicking Start Backup

7.Windows 7 would start saving the backup. Depending upon the system image size, this process could take anywhere from 15 minutes to more than 1 hour.