 Windows 8 makes it very easy to import pictures from your digital camera. Using the advanced options you can even auto-add the date your picture filenames
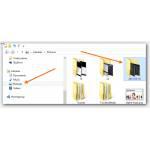
1. Step Open the Windows Explorer using Windows key + E and click on “Computer” in the sidebar
2. Step Now scroll down and you should see your camera listed – usually with a nifty camera icon and the full name of your model. In this case it’s a Canon EOS REBEL T3i
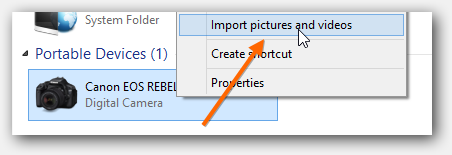
3. Step Right-click on the camera and click Import pictures and and videos
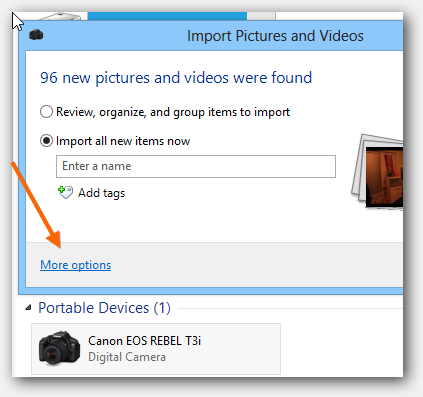
4. Step Alright, you will see the number of photos on your camera. Click on More Options
5. Step You can now add the date to all filenames by selecting either Name + Date or Date + Name from the dropdown:

6. Step It will show you an example right below it. You can also change the folder name that is being created when you import photos
7. Step Confirm with Ok
Where are the imported photos stored?
8. Step By default Windows 8 will store the photos in your libraries using the date as the folder name
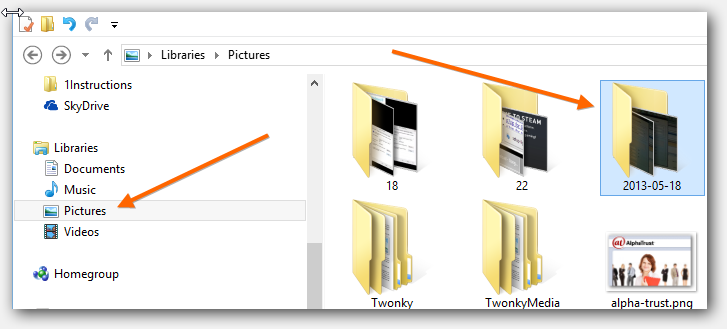
You can access this by clicking on Pictures in the sidebar and then check for the date you imported the pictures on

