If you want to know how to change the album art in Windows 7, here’s a small guide how to do that properly.

There are also various tools that allow you to change the album art in Windows 7 automatically, downloading the art online. If you want to download the album art manually you should check out this Album Art Downloader
Anyway, here’s how you manually change the album art in Windows 7.
Album Art in Windows Media Player
Just open the start menu and type windows media player into the search field:

Click on the WMP icon:

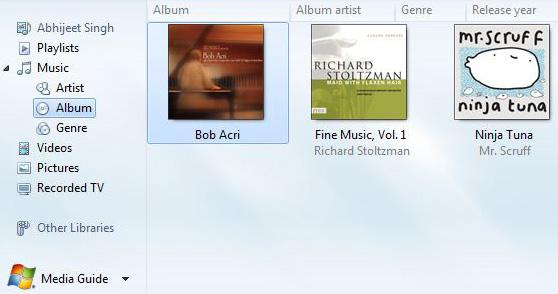
Now, when you uncollapse Music and click on Album you will get a list of your current albums.
Copy & Paste The Album Art
Now if you want to change the first Album Art e.g. “Bob Acri” and replace it with some other album art, follow the steps below.
1. Step Open the Picture Library, where you have all your images.
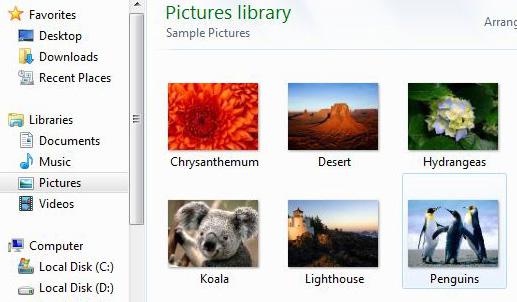
2. Step Select the album art that you want to use. For example I will select the album art “Penguins”
3. Step Either hold CTRL + C to copy it to your clipboard or right-click on the album art and select the copy option.
4. Step Go back to the opened instance of the Windows Media Player. Right click on the album that you want to change and then select the option “Paste album art”.

You have now changed the album art in Windows 7.

