DNS is one of the bottlenecks when it comes to securing your internet connection, especially since VPN’s don’t always come with their own DNS servers, so it’s a good idea to encrypt DNS requests.
DNS Servers
There are many benefits to using third party DNS Servers but did you know that there is a way to add a little more security.
One being the ability to encrypt all DNS server requests further protecting you from potential hackers and spyers.
Using DNSCrypt from the team at OpenDNS you can create an encrypted connection to any of the supported DNS servers
. Follow this guide to learn how!
Step by Step
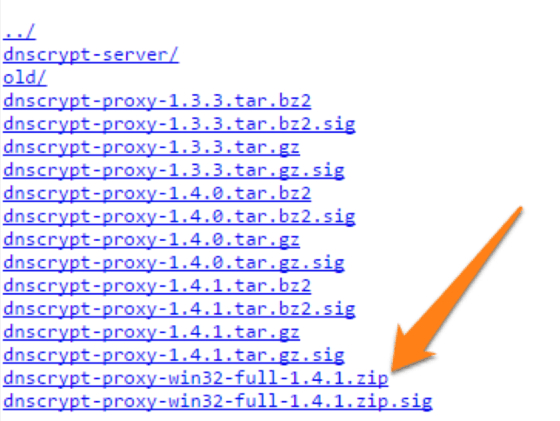
1. Step First – head over to this link and download the installation package.
http://download.dnscrypt.org/dnscrypt-proxy/
Be sure to download the newest version.
2. Step After this create a folder on your local desktop entitled DNSCrypt.
Extract all files to this folder by selecting this as the location for extraction when you open the package.
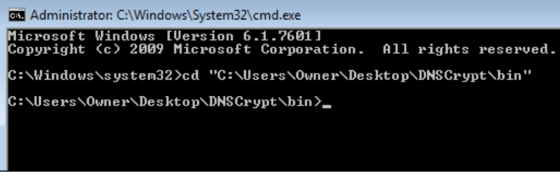
3. Step Open the run window and open up a command prompt window. Run CMD as administrator.
Once you have this open you need to run the following string.
C:\Users\Owner\Desktop\DNSCrypt\bin
4. Step Once you finish this step you should see the following text displayed.
[INFO] The dnscrypt-proxy service has been installed and started [INFO] The registry key used for this service is SYSTEM\CurrentControlSet\Services\dnscrypt-proxy\Parameters [INFO] Now, change your resolver settings to 127.0.0.1:53
Next you will need to change your DNS settings.
5. Step Open up your network and sharing centre and open “Change adapter settings.
Right click on the connection you are looking to edit and select properties.
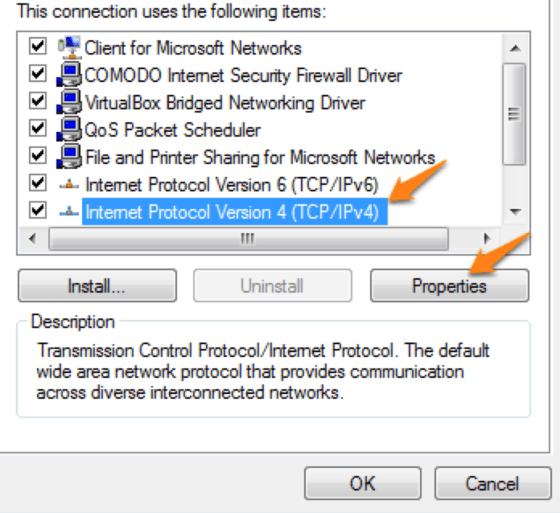
From here select the TCP/IPv4 settings. Once again click on properties
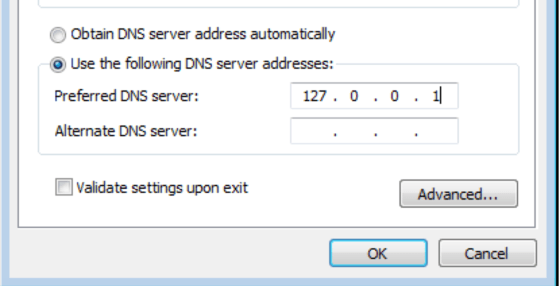
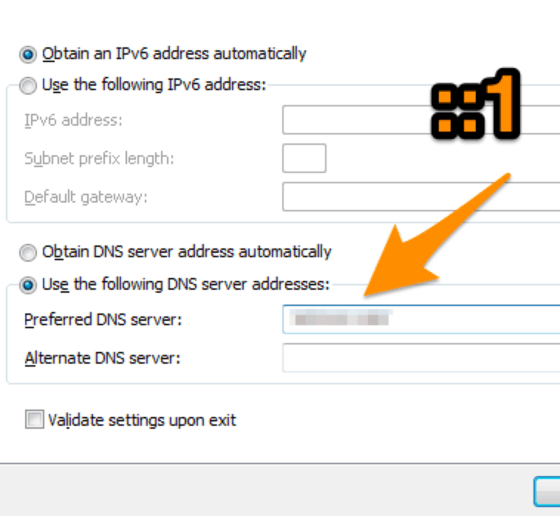
Finally change the Preferred DNS server. You need to change it to the following.
127.0.0.1
Once this is done click okay.
6. Step The final step is to change the TCP/IPv6 settings to ::1 and your all done.
Conclusion
After following these steps you can now browse the internet securley. You have set up a complete DNS connection and encrypted all subsequent data. Have fun browsing securely and safely
Cybersecurity Awareness
Missed any of our previous guides? You can find them here:

