 If you are new to Windows 7 or 8, you may want to know how to enable and configure the built-in Anti-malware tool Windows Defender, this guilde will help you to get started
Any PC running Windows should have an antimalware program installed – otherwise, the risk of your data being compromised is too high. Windows 7 has its own antivirus/antimalware app called Windows Defender, which is better than most of the competition. In this article, I’ll show you how to enable it and ensure maximum system protection.
Enabling Windows Defender protection
Windows Defender is the successor to the acclaimed Microsoft Security Essentials, which was proven to be a better antivirus and antimalware program than most of the free and commercial third party software out there. That is partly because of the tighter integration with Windows, but it’s also because of the excellent malware database that Microsoft provides. Defender should be enabled by default, but if you installed any antivirus or antimalware program, it can be partially or completely disabled, even if you uninstalled the third party software. In that case, you need to re-enable it right away – I’ll show you how to do that and also how to configure it for maximum protection.
How to enable Defender and configure it for maximum protection
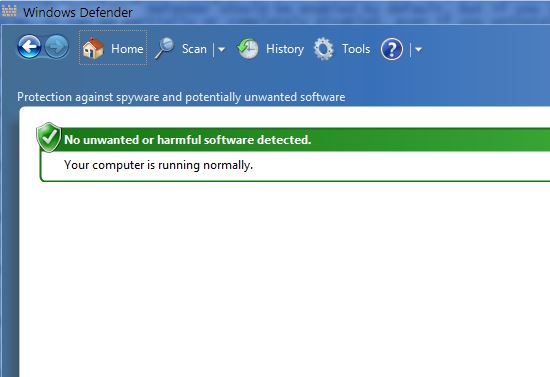
1. Step Open Windows Defender – you can find it in the Control Panel or you can just type “defender” in the Start Menu search field and click on the link in the results. The main screen of Windows Defender may show the status as green, but that doesn’t mean it’s fully enabled – it just means that there was no malware detected on the last scan.
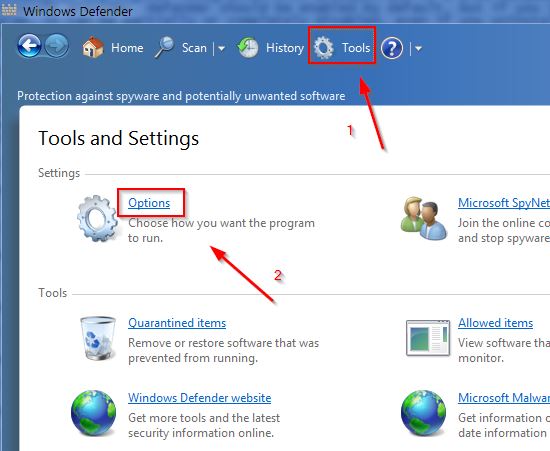
2. Step You need to click on Tools, then Options to get to the settings, where you’ll configure Defender’s real time protection and ensure maximum system protection.
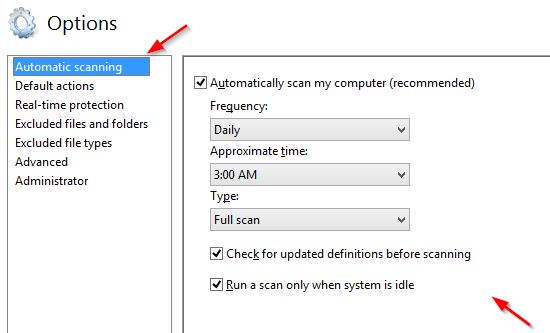
3. Step In the “Automatic Scanning” menu, check the “Automatically scan my computer” mark and set a time when the computer should be scanned. 2-4am works most of the time since the computer is idle, but if you turn it off during the night, set it to scan when it’s usually on. Also check “Check for updated definitions before scanning” and “Run a scan only when system is idle”, so you get the latest virus database and don’t get a drop in performance while the scan is running (it will only run when you’re not using the computer). I recommend setting the scan frequency to Daily and the scan type to Full for the best effectiveness.
4. Step In the “Default Actions” menu, you can select what the computer will do once a threat is detected. The good thing about Defender’s virus database is that it comes with recommended actions for each type of virus/malware, so you can leave everything set to “Recommended actions based on definitions”. Checking “Apply recommended actions” will make Defender apply the actions automatically, without asking you for confirmation.

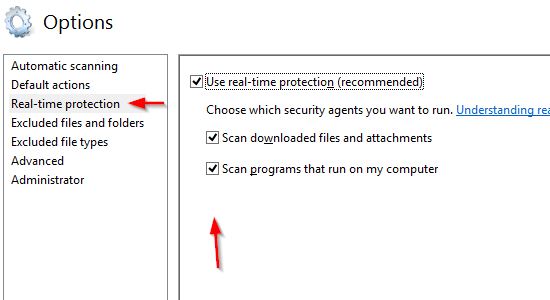
5. Step Real time protection is essential – it needs to be enabled. When enabled, Defender will scan any running programs and new or opened files, including downloads and attachments.
6. Step The “Excluded files and folders” and “Excluded file types” menus let you exclude individual files, folders and file types from scanning. I recommend you don’t exclude anything, as any file can get infected, but if you have special files that must be excluded, you can add them here.
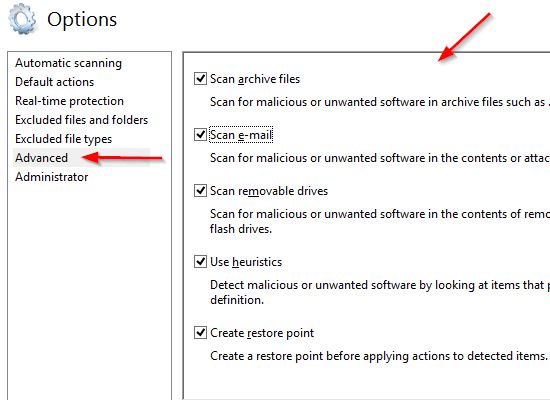
7. Step The Advanced menu has several options – I recommend checking all of them, but only if you have a relatively new and powerful computer, otherwise it may slow it down considerably. Scanning archives, email and removable drives is a good way to prevent any infections, using heuristics can find even the newest viruses not in the database and creating a restore point means you can restore if Defender deletes any important files (which can happen when key system files become infected and can’t be cleaned, only removed).
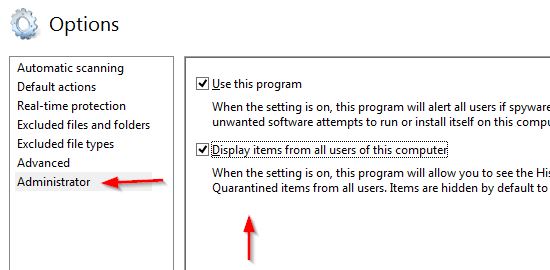
8. Step And finally, the Administrator menu lets you completely disable Defender and view items from all users. Obviously I don’t recommend disabling Defender and if you’re an Administrator or it’s your personal computer, you can check the second option, as well.
Now that you’ve gone through all the menus and set everything as recommended, click on Save and rest assured that you have the highest level of protection against malware and viruses, courtesy of Microsoft.
Conclusion
Windows Defender has excellent real time protection capabilities and is one of the best antimalware programs on the market – you don’t need an expensive third party antivirus on your system if Defender is running!

