Adding cursors in Windows 8 might be fun as you might be bored seeing same default cursor everytime. In this tutorial, we are showing you how to add new cursors in Windows 8
We are sure many of you are already familiar with cursors, so if you already know how to install them, you may want to download some of our Windows 8 mouse pointers now
Steps to add custom *.CUR/*.ANI files
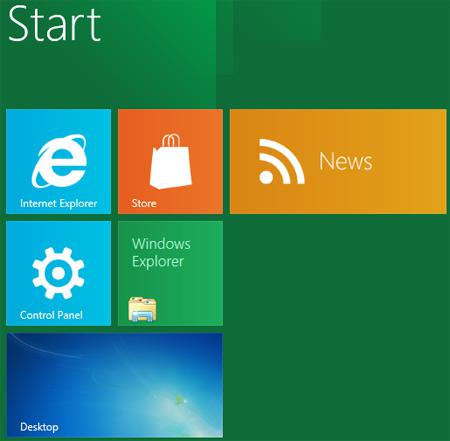
1. Step Open the Control Panel by clicking on the Control Panel tile on the Start Screen.
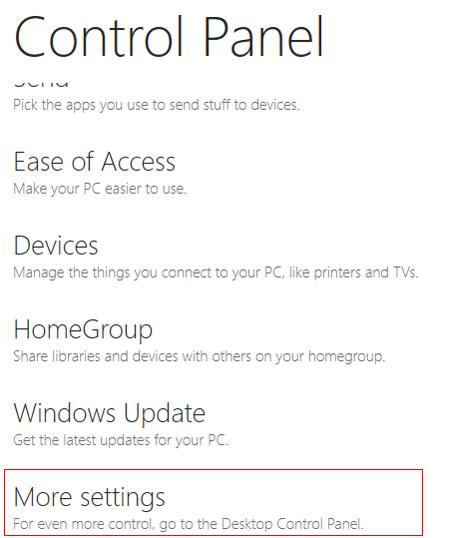
2. Step A control panel Window opens. Scroll down and click on the More Settings.
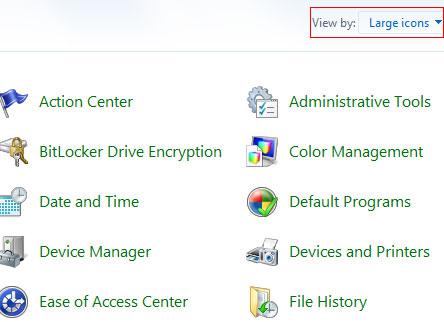
3. Step Next, click on the Large icons in ‘View by’ drop down menu located at the top-right corner.
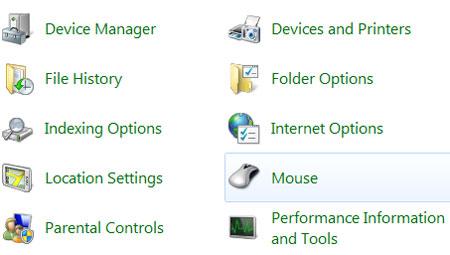
4. Step Next, click on the Mouse.
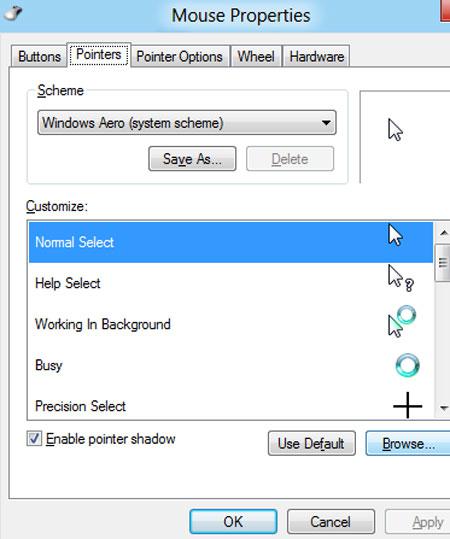
5. Step Next, click on the Pointers tab and click on the Browse button to select cursor.
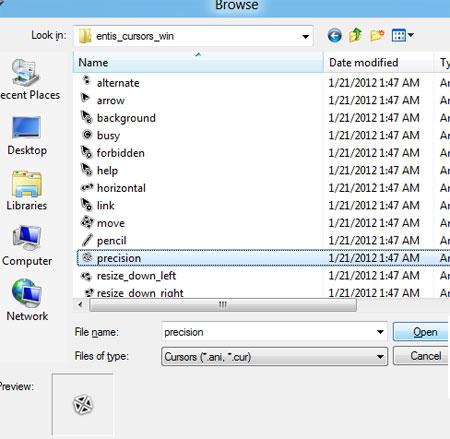
6. Step Next, select the cursor you want to use and click on the Open button. Make sure you already have a cursor in your system. You can download some good cursors for Windows 8 here or sites like windows7cursors.com. Download the cursor, save it to your computer and locate it. Usually cursors are bundled in zip file so you will have to extract it before using it.
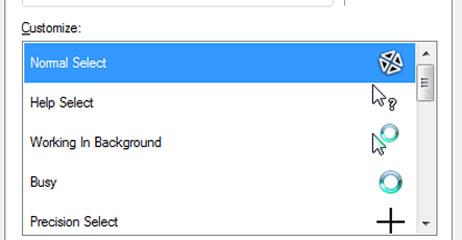
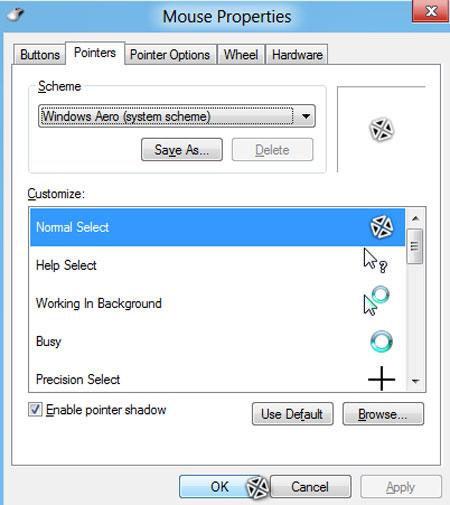
7. Step Now the cursor you have just selected will be shown. Click on the Apply and then OK. The cursor we have selected will be shown in Normal Select event. Likewise you can customize cursor for every event. That are the complete steps to add new cursors in Windows 8.
To change the default Windows 8 cursor, follow the steps provided in this tutorial. For more help, post below
Related Windows 8 Customization Tutorials
This tutorial is part of our series “customizing Windows 8“.
First of all, we are covering the very basics before we proceed to customizing the more advanced stuff. Here are some related tutorials that you might be interested in.


I don’t have a control panel on start. -.-
Hit CTRL + F on your keyboard (hold) and then enter “control panel” and select Settings
Done!