This tutorial will show you how to enable telnet in Windows 8. Once it has been enabled, you can access it using the command “telnet” in the command prompt.
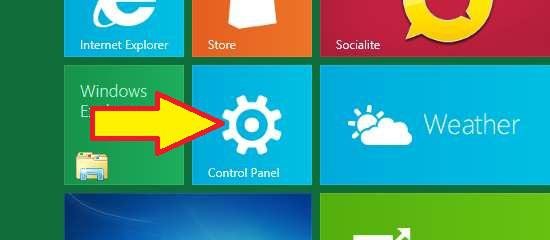
1. StepFrom the desktop, click on Control Panel
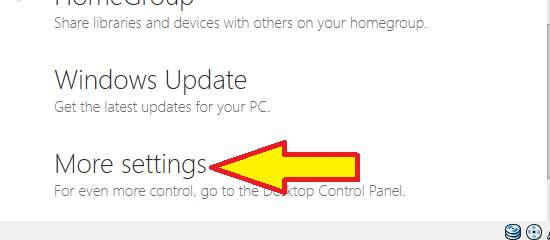
2. StepScroll down to find More Settings and click on it.
3. StepClick Programs
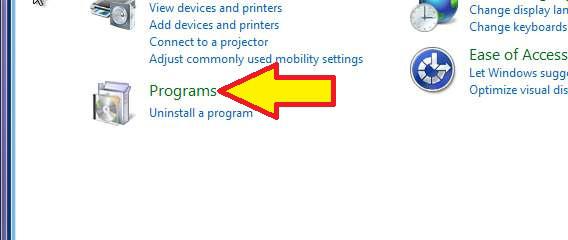
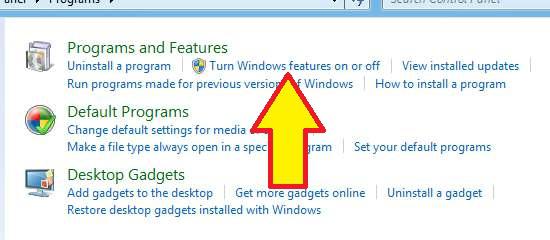
4. StepUnder Programs and Features, click Turn Windows Features On and Off
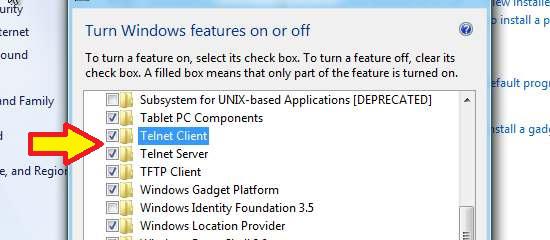
5. StepScroll down to find Telnet. Check the box next to Telnet Client and then click ok. Allow it to time to enable it. Then, go again to Turn Windows Features On and Off, scroll down, and ceck the box next to Telnet Client. Again, click ok and allow it to run.
All done!
If you still have problems enabling Telnet, post your question below and we’ll get back to you as soon as possible.

