Like any other version of Windows, Windows 7 comes with a large variety of fonts to choose from using Microsoft Word, Notepad, Photoshop, Paint and such other editing and publishing softwares. But for some users, the predefined fonts are not enough.
Users who are into publishing, poster designing, DTP and such other fields which involves the mass usage of fonts might find the default font collection to be exhaustive. For such users, this article will be useful as it will guide you how to add new fonts to your system.
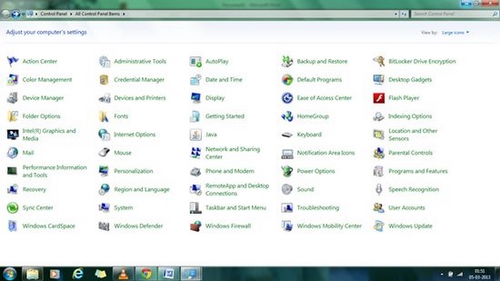
The first step is to find the fonts that you want to add to your system. You can download the fonts from the internet. Generally fonts use the format of TrueType font file or .TTF. After having gathered the required fonts which are to be added to your collection of predefined fonts, log in to your Windows 7 computer. Note that only administrators can avail this facility and not the standard users. After logging into the system, go to the Start menu and open the Control Panel folder.
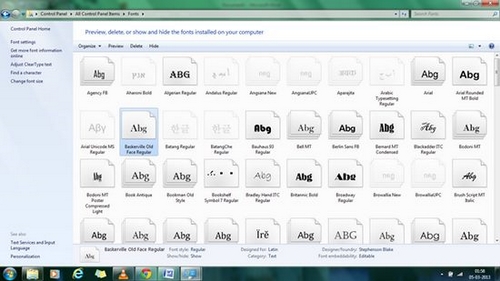
After opening the Control Panel folder, click on the Fonts icon. The Font folder looks like this:
After opening the Fonts folder, all you need to do is to go to the folder where the fonts that you have downloaded are stored. From that folder, select all the fonts and then copy them by using the keyboard shortcut Ctrl+ C or just right click on them and select the copy option.
After copying the font files, go to the Fonts folder in the Control Panel. Paste the copied files using the keyboard shortcut Ctrl+ V or right click and select the Paste option. The selected fonts will be pasted to the Fonts folder and you will be able to use them henceforth.

