 Sometimes you might want to record what you hear in Windows 8. This guide will show you how to do exactly that using the Virtual Audio Cable.
3rd-party app required to record what you hear!
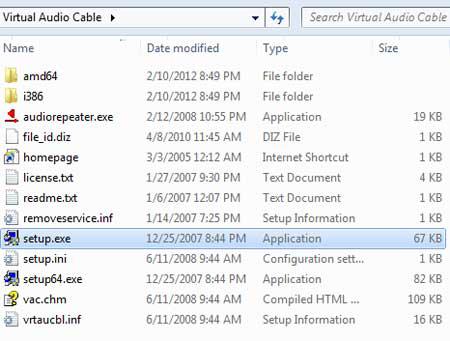
1. Step First of all you have to download and install Virtual Audio Cable which can transfer audio from one device channel to another. Download it from http://www.software.muzychenko.net/vac409.zipand save the installation file to your computer. The file is in zip format, extract it and double click the installation file i.e. setup.exe
2. Step Next, Click on Yes in the User Account Control box.

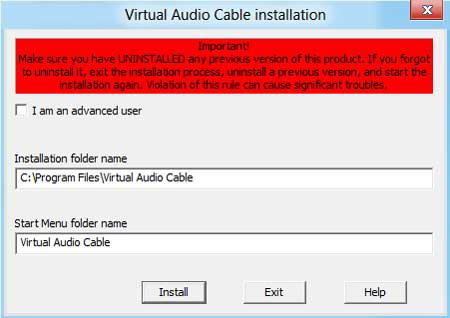
3. Step Next, Click on ‘I accept’ in the license agreement window and then on next window click on the Install button.
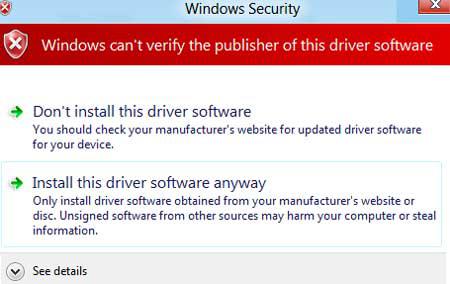
4. Step Click on the ‘Install this driver software anyway’ and finally you will see ‘Installation completed successfully’ message.
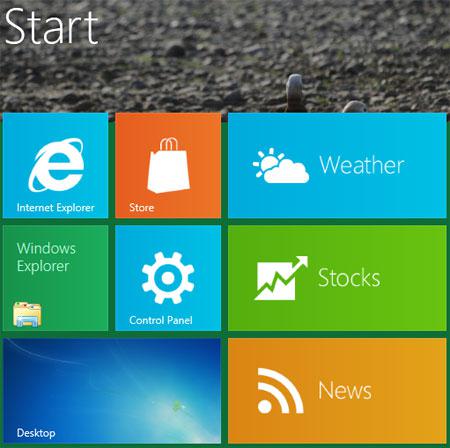
5. Step Open the Control Panel by clicking on the Control Panel tile on the Start Screen.
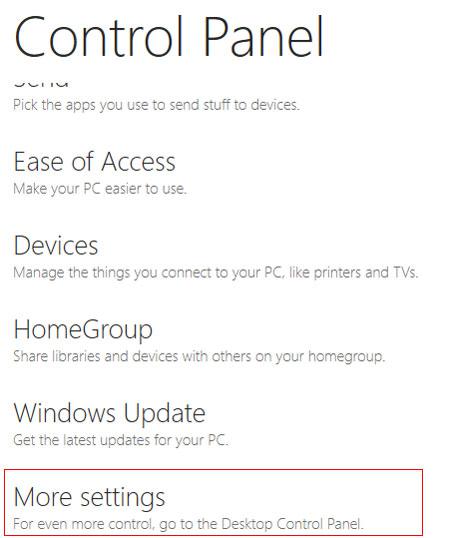
6. Step Next, click on the More Settings.
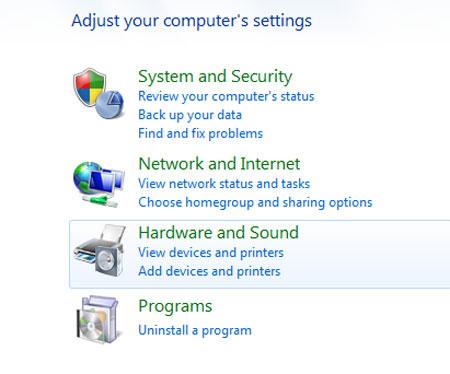
7. Step Click on the Hardware and Sound.
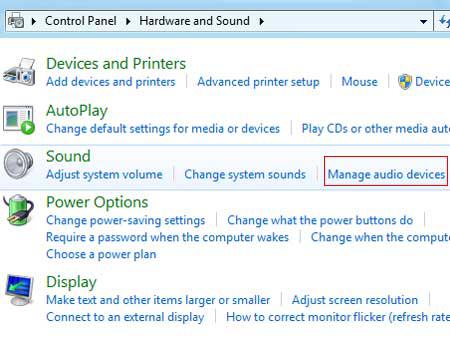
8. Step Next, Click on the Manage audio devices.
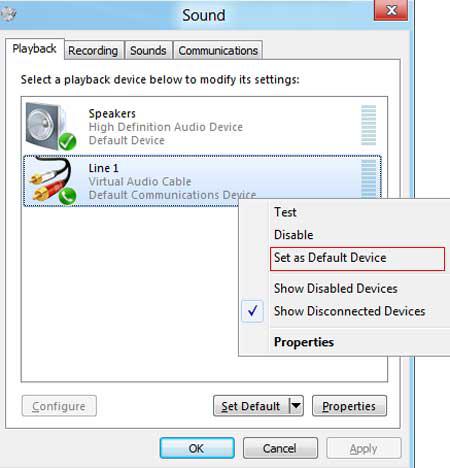
9. Step Next, click on the “Playback” tab and right click on the Line 1 (Virtual Audio Cable) and select ‘Set as Default Device’. Then click on the OK button.
10. Step Next, we have to download and install Audacity which records what you hear (or even what you don’t hear). You can download Audacity from http://audacity.sourceforge.net/download/. Next, install the Audacity to your computer. Follow the installation wizard to install Audacity.
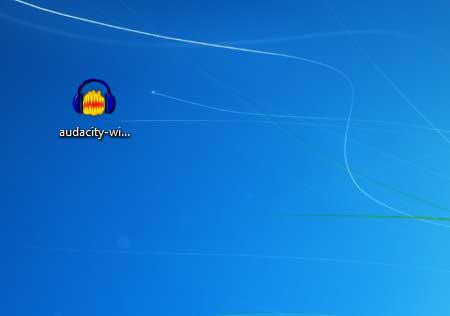
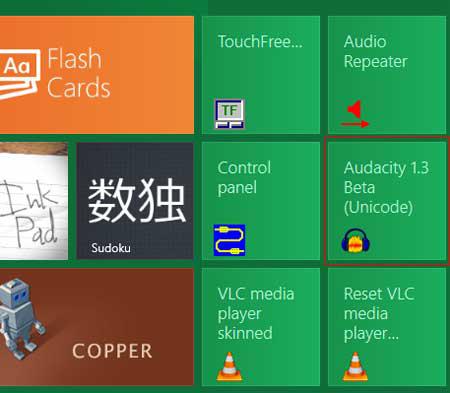
11. Next, launch the Audacity application by clicking on the Audacity Panel tile on the Start Screen.
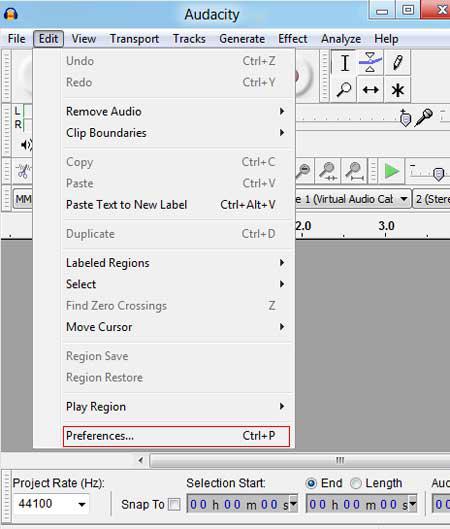
12. Next, click on the Edit >> Preferences or simply press Ctrl + P.
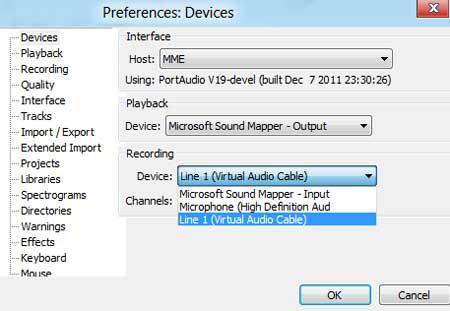
13. Next, On the Devices tab, select Line 1 (Virtual Audio Cable) under Recording section and then click on the OK button.
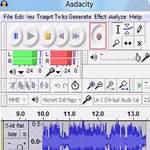
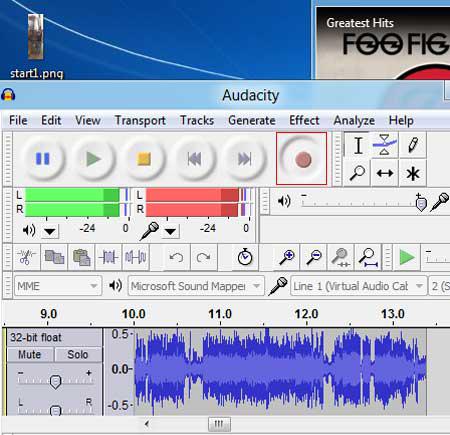
14. Next, play any file with audio and in Audacity click on the Record icon. Now everything you hear or you dont hear but is playing will be recorded in Audacity. To export the recorded file, click on the File >> Export. Then give your file and select your desired extension (file type) like .wav or .mp3 etc. That are the complete steps to record what you hear in Windows 8. One more thing, you might have to change your default playback device to speaker to hear what you have recorded. See Step – 9.
Conclusion
So, you want to want to know how to record what you hear in Windows 7? It’s definitely possibly, although some people will not be happy if I tell you how to do it. Microsoft removed the entry “what you hear” from Vista and Windows 7, because people started recording what they heard online instead of buying iTunes or other stuff online, although it is completely legal to record what you hear.


there is a much simpler method that worked on my system at least. go to the control panel, go to the sound options, choose recording, right click and press show disabled devices. right click on stereo mix to enable it. stereo mix is the same as What U Hear, and you can use it as a recording device
None of this seems to work for me in Windows 8 using the Virtual audio cable because I cannot get it to load. Two messages appear,
**SysAudio device is not present and
**MessageBox: Cannot install device (15/559 – The third-party INF does not contain digital signature information.)
Any help would certainly be appreciated.
I also got the Cannot install device 15/559 message. Is there a fix?