Sometimes you need to change file attributes in Windows 7. Here’s how to change the read-only attribute in Windows 7. A tutorial by Vivek N:

While working with Windows 7 you might have come across the situation where you were not able to save the changes you have made in any file. This is not because there is some lacking in the efficiency you have but it is because the file is marked as Read Only. In Windows 7 there are several system files which are marked as read only for various security reasons. These files are not supposed to be altered by any user as the modification may result in permanent failure of the operating system. However there might also be cases when any document file is marked as read only and you are required to modify the document for some reason. In this situation you can remove Read Only mark of the file by following the steps as given below:
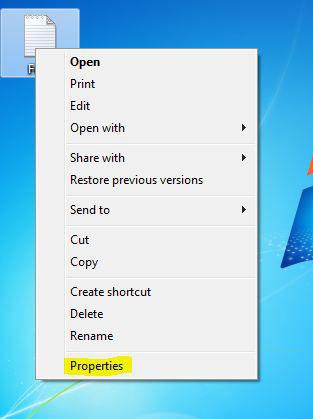
1 Right click on the file for which you want to remove Read Only attribute and from the appeared menu click on Properties.
2 On Properties box make sure that you are on General tab and under Attributes section uncheck Read-only checkbox by clicking on it.
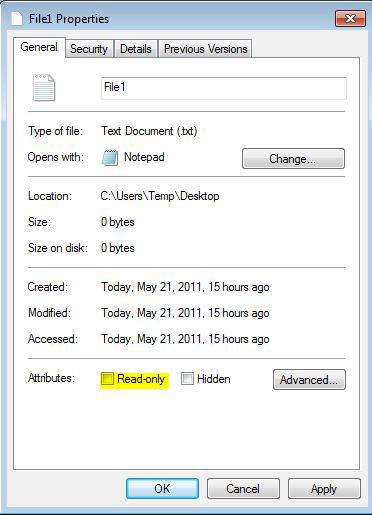
3 Once done, click on Ok button to make the changes permanent.
Note: Removing Read-Only attribute of any file can also be done through command line by typing attrib –r command in the command window.
Note: You can also mark a file as Read-Only by checking the above mentioned Read-only checkbox or by typing atrib +r command in the command window.

