If you want to install the Apache software for web development purposes on Windows 7, read this tutorial.
![]()
Apache application has become one important part in the life of a web developer. The Apache web server surpassed 100 million websites target in 2009. The application is actually developed under an open community therefore it is open to development from every class of developer. Installing Apache on Windows 7 is not a rocket science. Here is how you can do it.
1. StepBrowse to http://www.apachefriends.org/en/xampp-windows. ApacheFriends.com is the platform providing you with ready updates on Apache installation suite. XAMPP is a combination of Apache, MySQL and PHP; all being open source applications.
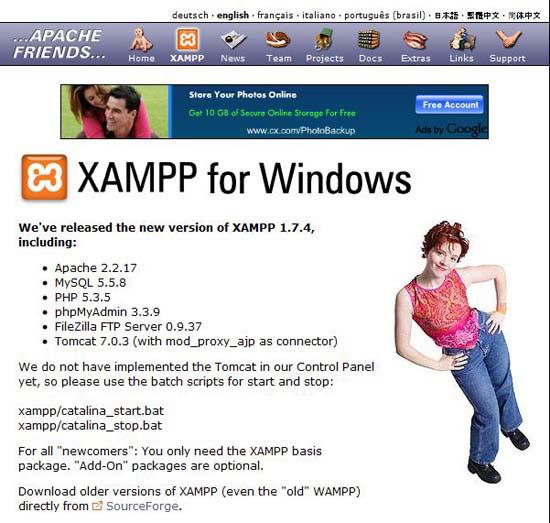
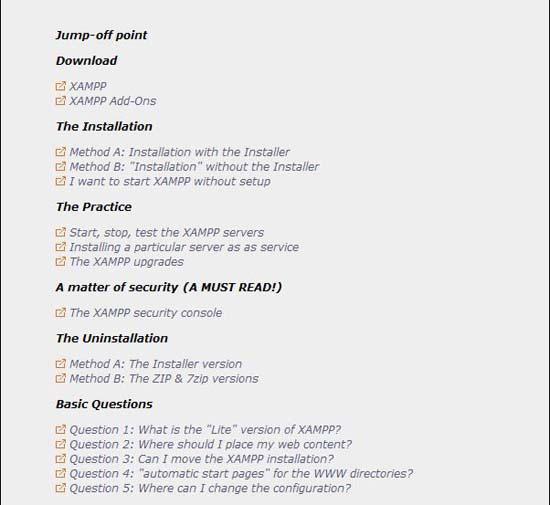
2. StepSimple jump off points on the site interface provide you with an easy navigation. XAMPP has extensive documentation and add-ons available on the .ApacheFriends.com site giving you complete details about the development of this opensource application. Click on XAMPP.
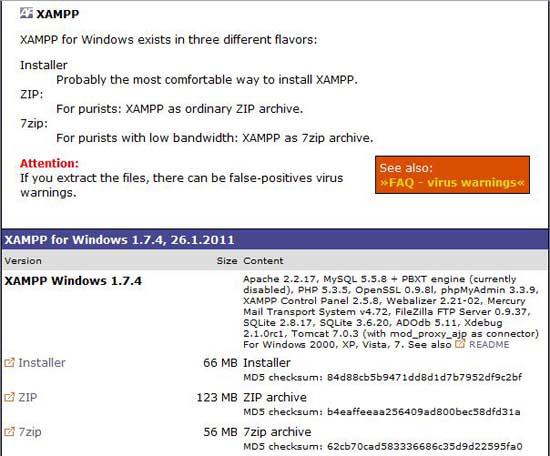
3. StepThe installer section has three forms of downloads the smallest being 7zip. The installer format on the other hand is best suitable for machines running on Windows 7.
4. StepLocate the installation file from your download folder and execute the installer.
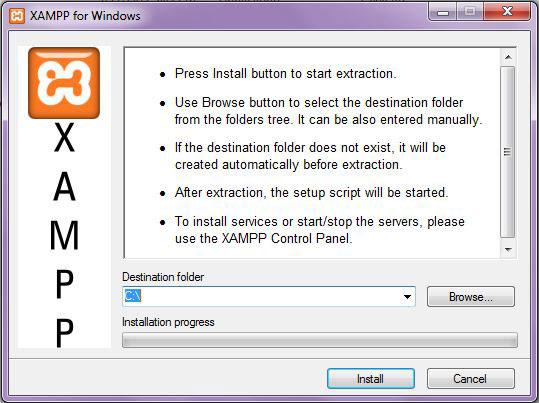
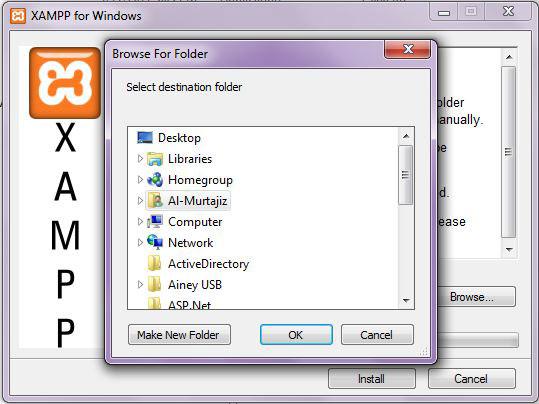
5. StepThe default location for installing XAMPP is C:/. Browse through your hard disk drive to locate the drive of your choice.
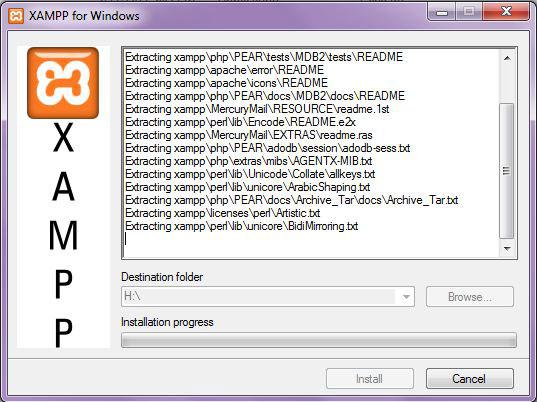
6. StepOne click on the install button will extract the entire XAMPP installation directory on your machine.
7. Step
Browse through the directory where you originally installed XAMPP.
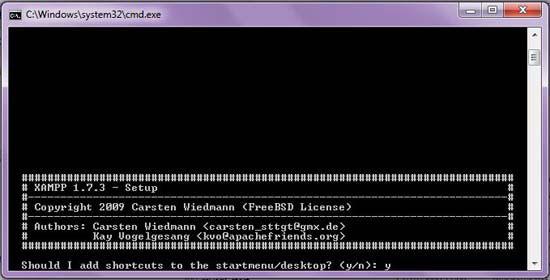
8. StepWindows Batch File named “setup_xampp” is associated with the installation of XAMPP on your computer. Press “y” if you wish to have shortcuts on the desktop and start menu.
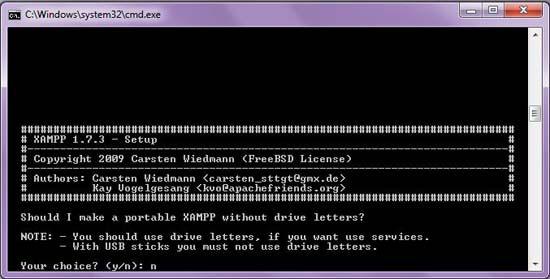
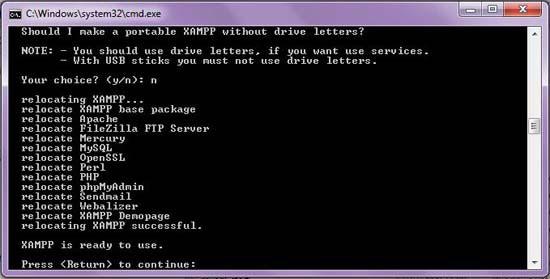
9. StepThe installation suite also gives you an option to create a portable version of XAMPP. You can take the portable version of application anywhere and use it to develop projects that need Apache. Press “n” if you want to skip this process.
10. StepInstallation is complete. Press the “Return” key to finalize settings.
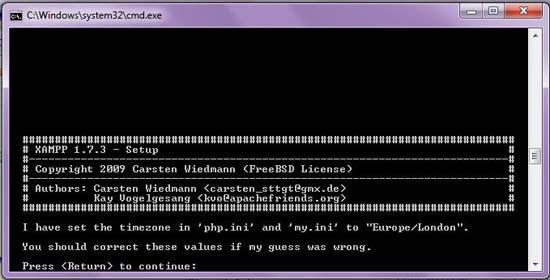
11.The final step through the installation file is going to set the parameters such that time and time zone. Press “Return” to move through this step.
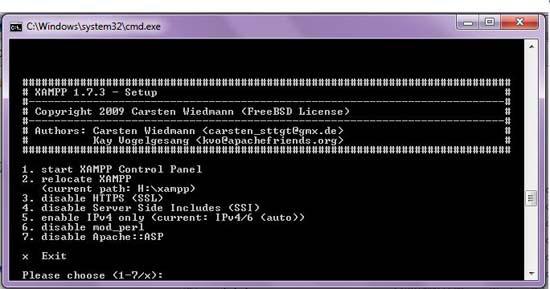
12.The action list of XAMPP installation file gives you with a number of options to start or configure XAMPP control panel. Hit “1” and “Return” to open the control panel of XAMPP.
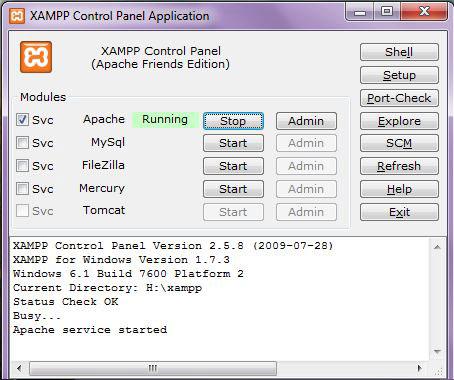
13.Woaa! XAMPP Installed! Starting the Apache service is as simple as anything. Check the “Svc” check box next to Apache.
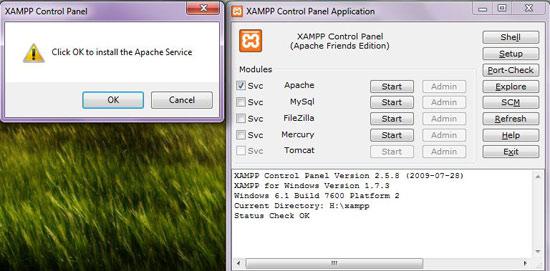
14.Click on “Start” to start the Apache module completely.
15.XAMPP is now installed on your machine. You can use this to create websites on your machine and implement other technologies that need Apache as a prerequisite.
Just in case the above stated tutorial was not helpful enough, you can contact us and we will be more then happy to assist you through sorting out issues.

