If you want to create a new partition / disk volume in Windows 7, you can use the built-in disk management tools to do that. Here’s how.

Using Disk Management Instructions
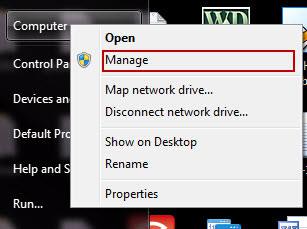
(1) Right click on Computer in Start Menu, and click on Manage (with the Administrative Tools icon). Then close the Control Panel window.
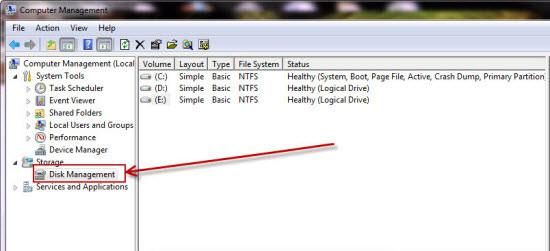
(2) Click on Computer Management in Administrative Tools, Uncollapse Storage, then click on Disk Management
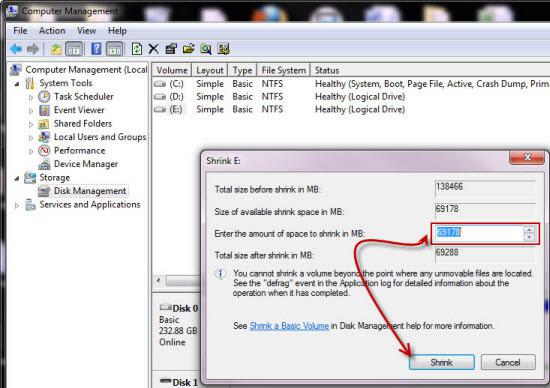
(3) You will first need to shrink a partition or volume from the free space on a disk to create unallocated space on that disk.
You can then use the unallocated disk space to create the new partition or volume.
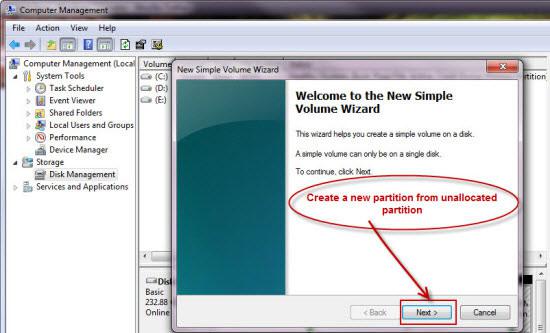
(4) In the middle pane, right click on the empty unallocated partition or volume and click on New Simple Volume.
(5) Click on the Next button.
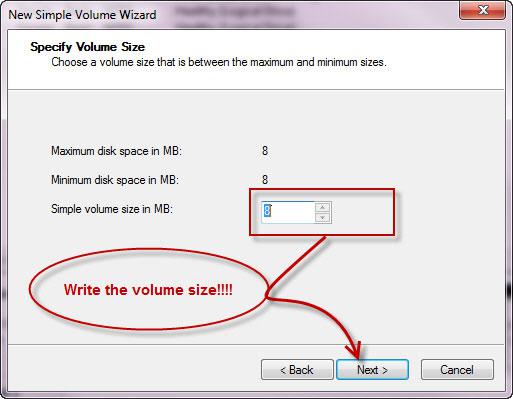
(6) Type in how much disk space in MB (1 GB = 1024 MB) you want to use from the unallocated partition to create the new partition with, then click on the Next button.
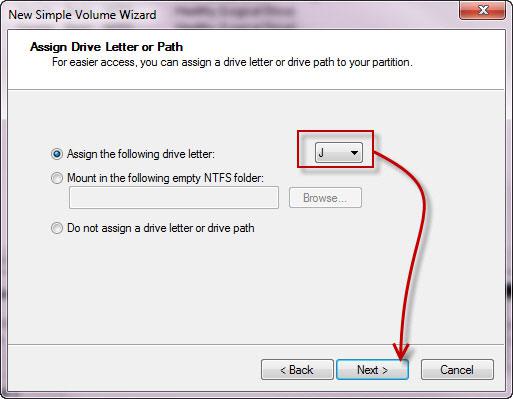
(7) Assign a drive letter for the new partition
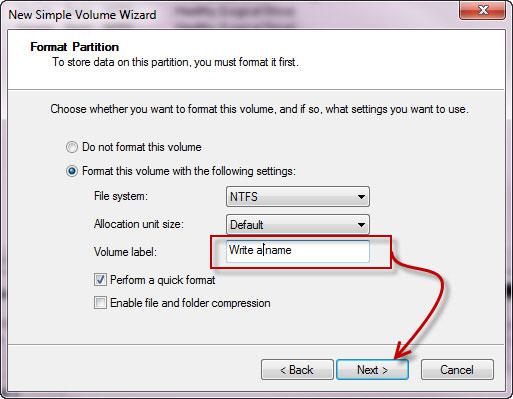
(8) Type in a volume label name that you want for the new partition, check the Perform a quick format box, and click on the Next button.
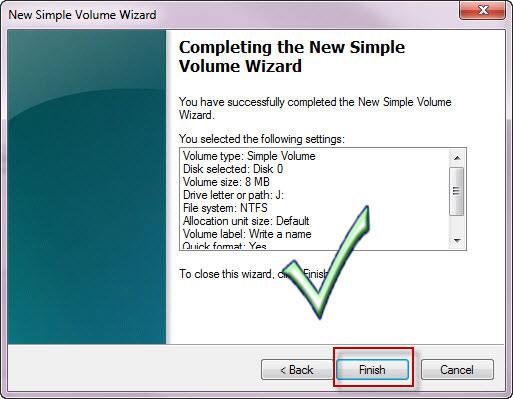
Click on the Next button and you’re done! You have successfully created a new partition in Windows 7.


Hi Sir,
I got to know your website accidently. As I use Windows 7 in my new laptop, there is a technical matter that I tried my best, but no solution. Please help me to sort out this issue.
I tried to partitioned my hard drive which consisting two, as it is the factory setting. “C” is the main section which consisting appx. 280GB (where the Windows installed) along with recovery partition. The problem is, when I tried to make another portion using the Main hard drive there is a massage comes that telling “ you are try to convert basic volume to Dynamic volume and therefore, it will be a problem for boot”
I followed the Disk management> shrink a partition>New Simple Volume> so on…
Please advise me the procedure to segregate some dick capacity from “basic volume”.
Thanks,
Gihan