(Guest Post) With this tutorial, you can easily create hot banners in photoshop.

Steps to create banner in photoshop
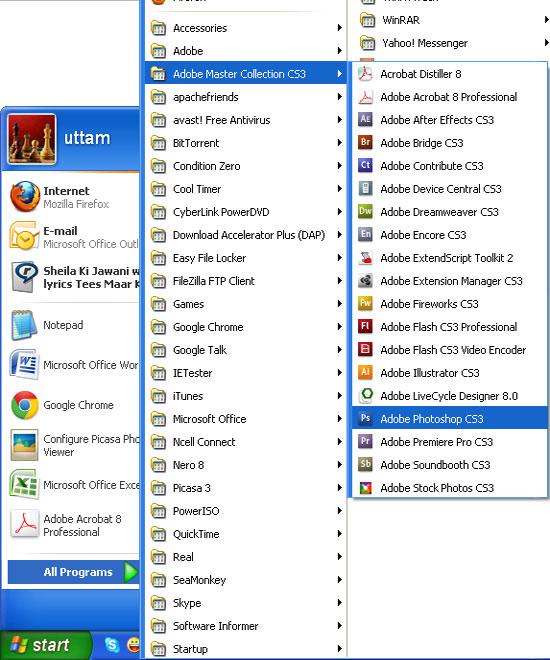
1. Step Click Start >> All Programs >> Adobe Master Collection CS3 / CS4 / CS5 >> Adobe Photoshop CS3 / CS4 / CS5
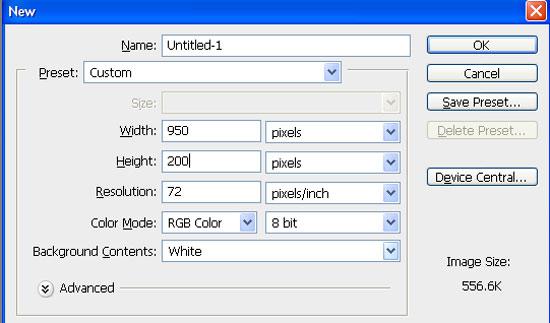
2. Step Now in your Photoshop, click File >> New and in the opened window put width = 200 pixels, height = 50 pixels and click OK
2. Step Fill the background color with any color. Here I am filling with black color. Choose black color from color box below tool box and select ‘Paint Bucket Tool’ (Shortcut – G) and fill on the background.
3. Step Fill the background color with any color. Here I am filling with black color. Choose black color from color box below tool box and select ‘Paint Bucket Tool’ (Shortcut – G) and fill on the background.

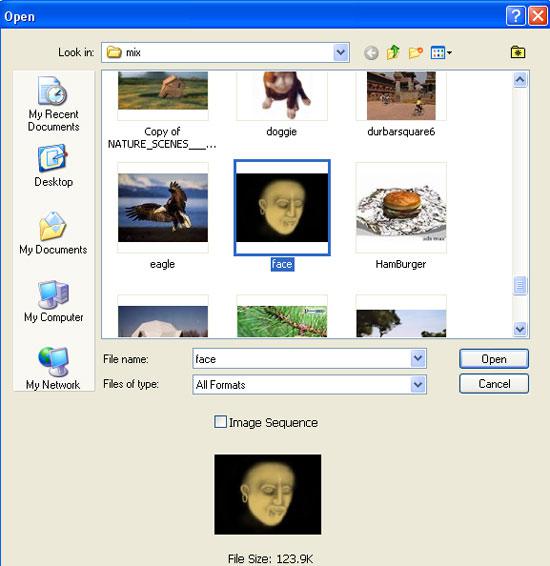
4. Step Let’s import the picture you want to place on the banner. Click File >> Open, Select the picture you want to import and click Open.
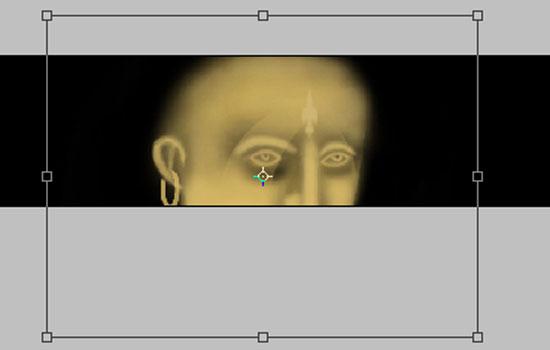
5. Step Select ‘Move Tool’ (Shortcut – V) and then click and drag the opened image to our original banner file. Now you notice the image is too large. So to resize it, click Edit Transform >> Scale or simple Free Transform (Shortcut – Ctrl + T). You will notice a handler at the 8 colors. Hold Shift and Drag inwards to decrease the image size. Holding shift while dragging will maintain the proportions. If you also hold ‘Alt’ along with shift then the image will be resized from the center. After you finish resizing press ‘Enter’ to apply. Position the image wherever you like by dragging it through Move Tool’ (Shortcut – V).
6. Step Select text tool (Shortcut – T), you may choose any font you like from option bar at the top. Then type your text.

7. Add some layer style to the text by right clicking text layer in layer palette and select ‘Blending Options’.
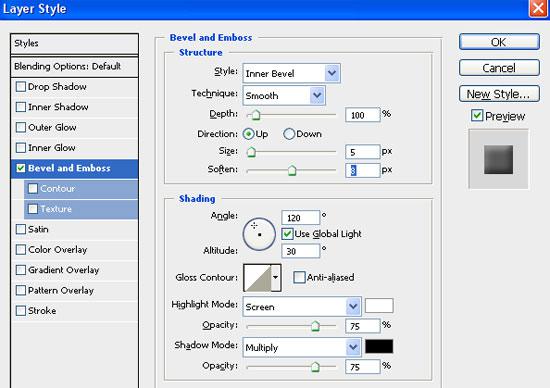
8. Step Select ‘Bevel and Emboss’ and fill settings as shown in the screenshot.

9. Step Lastly, select ‘Stroke’ and fill settings as shown in the screenshot.
Video
Conclusion
Adding banner to your website is very useful as it gives the overall feel of the site.
TOP: Download our Photoshop sample files below for this tutorial and many others:
- Download How To Resize Image In Photoshop
- Download How To Age Photo In Photoshop
- Download How To Blend Images In Photoshop
- Download How To Whiten Teeth In Photoshop
- Download How To Create Fire In Photoshop
- Download How To Resize Image In Photoshop
- Download How To Create Button In Photoshop

