Ever wanted to create some cool stuff in Photoshop? Here’s a quick tutorial that shows you how to create some fancy transparent edges that can be smooth, rough, liquid, whatever you feel like. Two examples:

Image: Rift – Planes of Telara
1. StepOpen Photoshop
2. Step Open an interesting wallpaper like the one below from Rift. You can download our Rift Windows 7 theme if you want this particular wallpaper by the way.
3. StepUse the Lasso tool (L) to create a random selection around the main object of the wallpaper

4. StepPress Shift + F and enter a Feather Radius of 15 pixels (you can play around with this for the perfect result)
5. Step Double-click on Background layer to unlock it:
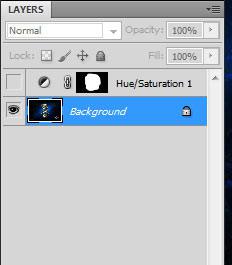
6. StepNow, while the selection is still active in the background click on Add layer mask:

7. Step You should have something like this now:

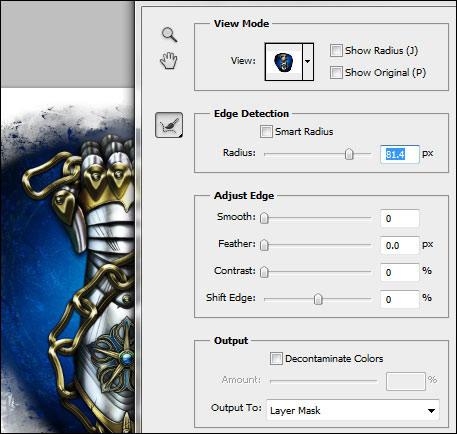
8. Step Select the vector mask and right-click on it. Click on “Refine mask”:

9. Step Change the radius until you have some interesting edges, a good value might be around 70 – 90 for large images.
 +
+
10. Step Play around with Smooth for smooth edges, with Feather for some shiny effects, with contrast for some rough edges. You’ll love this, that’s why I like Photoshop so much – simple ways to create cool effects.
End result could look like this:

Or this:

Would you like more Photoshop tutorials?
If you have any questions, feel free to post them below.


That produces a pretty interesting result. You could use this for a paint splatter or something similar. The only thing I don’t like is how both of the images leave a blurry “smudge” at the bottom.
The smudge is the result of image clipping. If you increase the canvas size of the image there will be no smudge at all.
Hope this helps …
But no refine mask option in photoshop 7… Wat to do bro???
I cant find the option refine mask in photoshop CS3 . Can you help me?