 To access a shared folder on Windows 8 you need to configure your sharing settings first, then follow this tutorial to access the shared folders
- Tip: Before reading this tutorial, you may also want to make sure that you properly set up your network and sharing settings – else if you don’t you might end up asking yourself why you can’t find other computers on the same network
Steps to access a shared folder
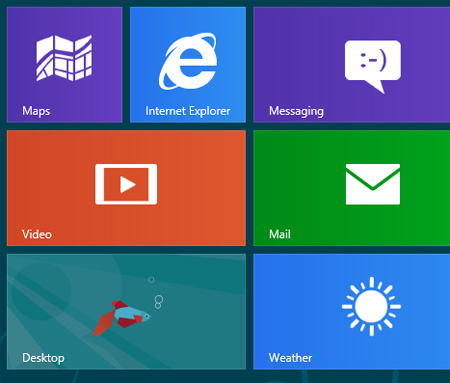
1. StepOn the Start screen, select the Desktop tile.
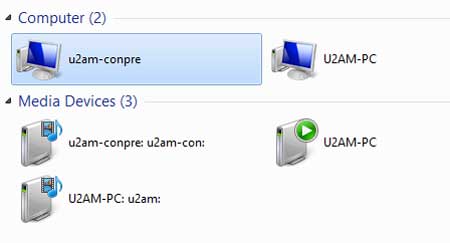
2. Step Next, double click on the Network icon to open it.
- Tip: If you don’t see the Computer icon on your Network then unhide it by checking the checkbox for the Network icon here: Control Panel >> Appearance and Personalization >> Personalization >> “Change desktop icons” or simply right-click on the Desktop and select Personalization and then select “Change Desktop icons”.
![]()
3. Next, double-click on the computer name to see a list with shared folders – obviously you need to know the name of the computer you want to access first, so ask the other person on the network
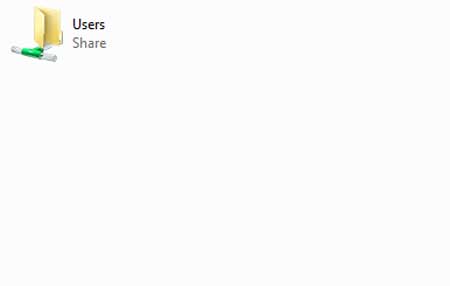
4. Step Next, all shared folders are listed.
- Folders can be shared by right-clicking on the folder, select Properties >> Advanced Sharing >> Tick ‘Share this folder’.
You may be asked for login credentials if you enabled password-protected sharing (see link at the top) – so enter the login details of the other computer that is sharing files and folders with you.You can also join a homegroup and make accessing computers over the network a little easier.
That are the complete steps to access a shared folder on Windows 8.
Conclusion:
Windows 8 has a simple but very efficient file-sharing and networking tool. Unlike earlier version of Windows, Windows 8 does not prompt you to create or join a Work or Homegroup network. To share files or folders, you will have to create a network group, and give other users permissions to access your network shares

