Easy File Locker v1.1 is a very cool tool that allows you to easily password protect a folder in Windows 7
Steps to password protect a folder in Windows 7
1. Step Here, we are using a third party freeware known as ‘Easy File Locker v1.1’ to protect folder. To download it, open http://download.cnet.com/Easy-File-Locker/3000-2144_4-10872649 and click on the ‘Download now’. You can of course use other softwares like foldergaurd etc, but we will use Easy File Locker for this tutorial. Save the installation file on your computer and double click on it to start the installation. Click Next to proceed forward.

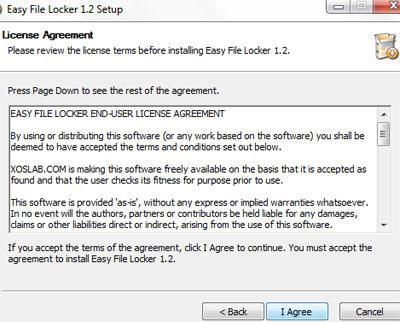
2. Step Click on the ‘I Agree’.
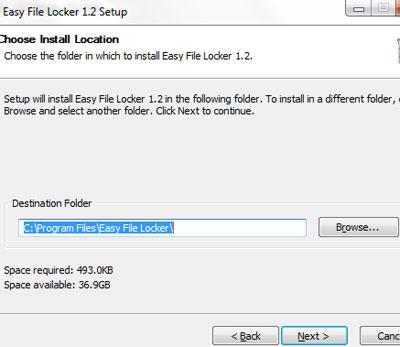
3. Step Specify the location where you want to install the application. Leave it as it is if you want to install it on your default C drive. Then click on the Next button.
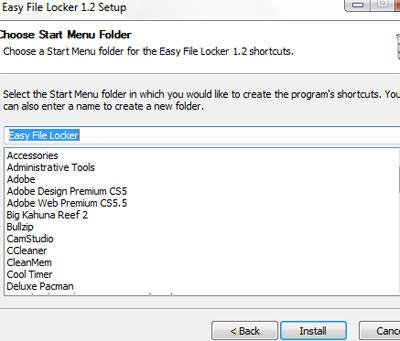
4. Step Click on the Install button.
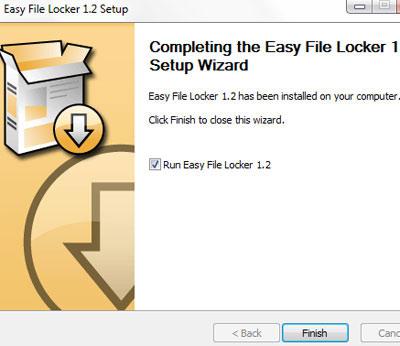
5. Step Lastly, select ‘Run Easy File Locker 1.2’ click on the Finish.
6. Step Open Easy File Locker 1.2, on the menubar, select System >> Set Password.

7. Step Type the password you want to set. Please note, everytime when you try to unlock the files or folders you have to specify this password. You even have to specify it when uninstalling the Easy File locker 1.2 application. After typing the password click on OK. You should get a message saying ‘Set a new password successfully’. Now, click on OK.

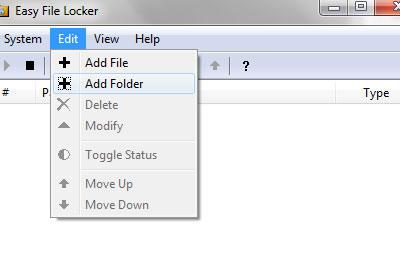
8. Step Click on the Edit >> Add folder to password protect folder. Alternatively, you can also click on the Add folder icon in the toolbar.
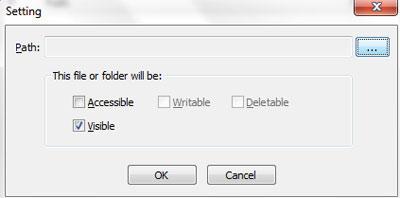
9. Step Select the Visible permission and uncheck (unselect) rest. Then click on the folder path icon to select folder.
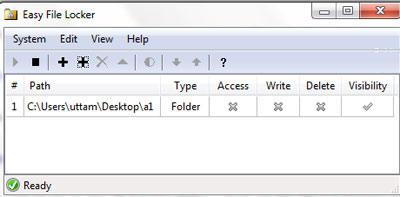
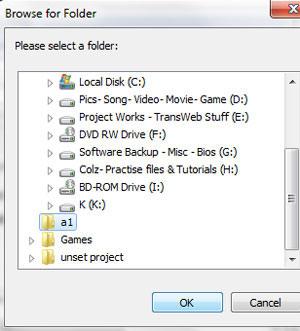
10. Step Select the folder and click on the OK button. Again, click on the OK and finally another OK. In my case, i have selected folder named as ‘a1’.
11. Now you will see the folder path and the permission summary. On the screenshot, the folder ‘a1’ has the permissions “can’t access, can’t write, can’t delete” but it’s still viewable.

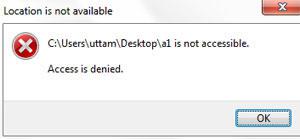
12. Now locate the folder which we have just password protected and try to open it. You will see a message saying Not accessible or Access is denied. To access this folder, you will have to open the Easy File locker and set it’s permission to Accessible. You can do that by double clicking on the folder name on the summary page shown when you open the application. That are the complete steps to password protect a folder in Windows 7 with Easy File Locker
Conclusion
Security is important, if you want to password protect your folder because your system is also used by other people you should definitely try out Easy File Locker or a similar software. If you encounter any problem with this application then try installing similar software like Folder Guard or post your errors and questions below

