 If you frequently have PC problems you may want to test the built-in Windows 7 reliability monitor that can help you to find the actual causes of your problems. A great diagnostics tool generating XML problem reports
What is the Reliability Monitor?
The Reliability Monitor is mostly used for diagnostic purposes. If you have a severe computer problem, you can use the reliability monitor to find possible causes. It can easily check your hardware and collect various information that will help you to find possible problems and culprits. It also calculated a stability index – the higher that number the more stable your system (range 1 – 10)
TIP: It’s faster to simply enter Reliability into the search bar and click the first option View Reliability History. If that doesn’t work, proceed with step 1-4 – If it does work, click here to skip step 1-3

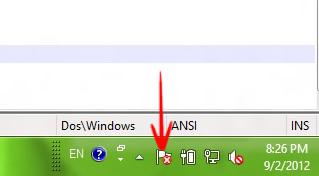
1. Step Click on the Flag in the Taskbar to go the Action Center. (If you don’t see that flag, go to the Control Panel first and then to the Action Center)
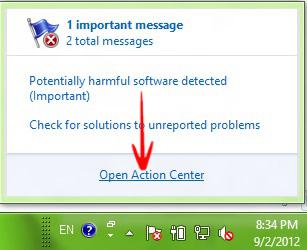
2. Step Click on Action Center.
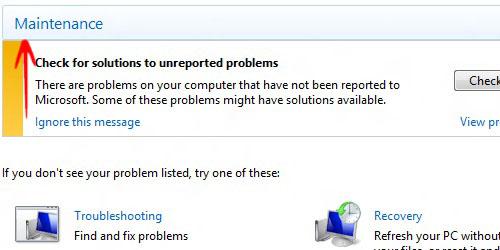
3. Step Click on Maintenance to expand and view more options.
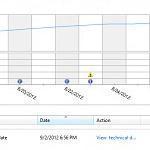
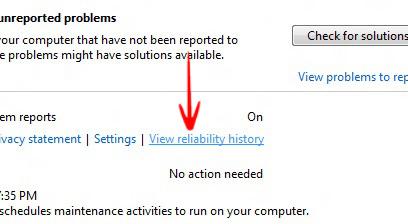
Check the reliability history to see problems that occurred previously
4. Step Click on View Reliability History.
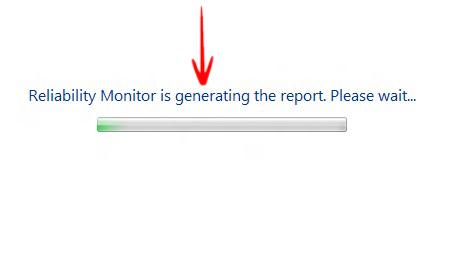
5. Step Generating the report may take several seconds.
6. Step The Reliability Monitor Opens.
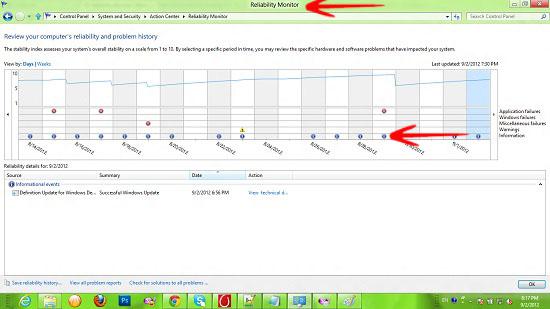
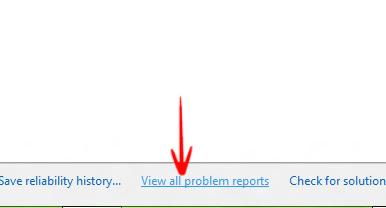
7. Step Click View All Reports to view reports on various installations, services. The link Save Reliability History is very useful – it saves this report as a .xml file!