Broken device drivers can cause system corruption and blue screen. Learn how to enable the driver verifier in Windows 8 to avoid driver problems

Driver verifier is an excellent feature of Windows 7 and Windows 8 Release Preview that detects broken drivers and reports it in the dump file. The program needs to be enabled or disabled to work and since not many people know how it is done, here is a short tutorial:
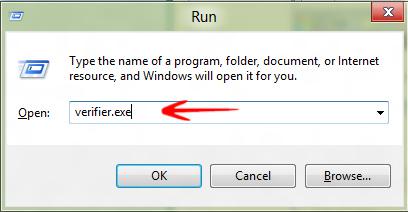
1. StepType verifier.exe in Run (Windows hot key + R) and press Enter on your keyboard
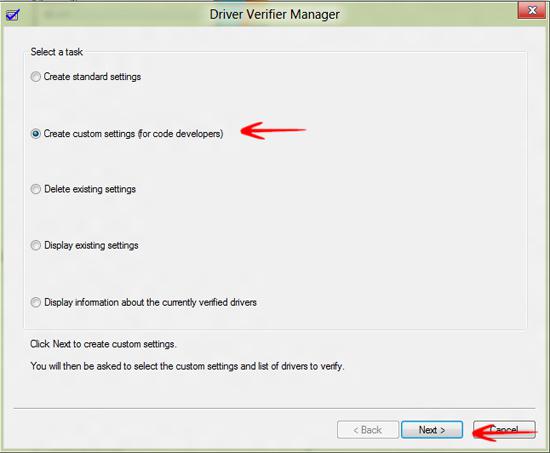
2. StepYou would be prompted with several options in the Driver Verifier window. Select the 2nd option Create custom settings (for code developers)
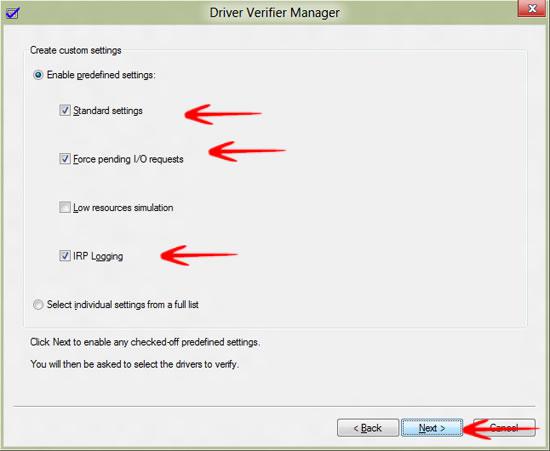
3. StepNow select Enable predefined settings, standard settings, Force pending I/O requests, and IRP logging. Click Next.
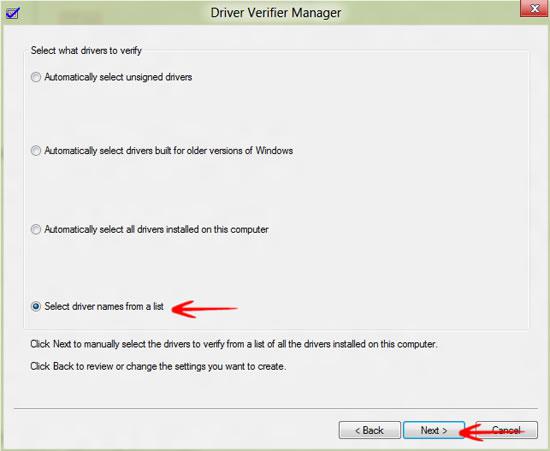
4. StepLeaving all options unchanged, select Select driver names from a list
5. StepPlease wait for the driver verifier loading driver information

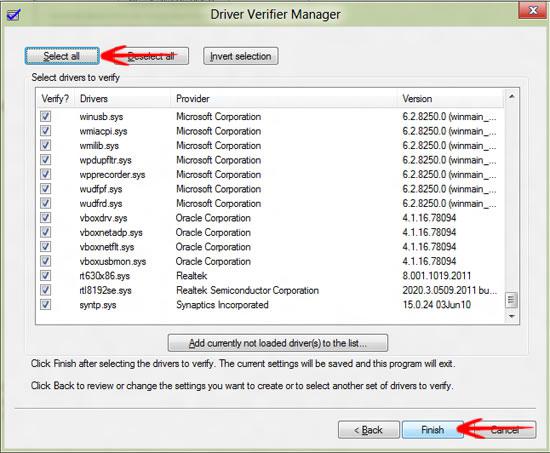
6. StepClick Select all and click Finish
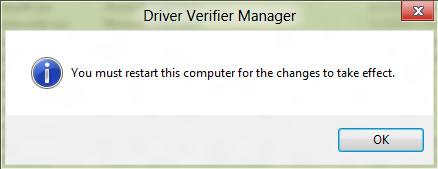
7.You would now be prompted to restart your system
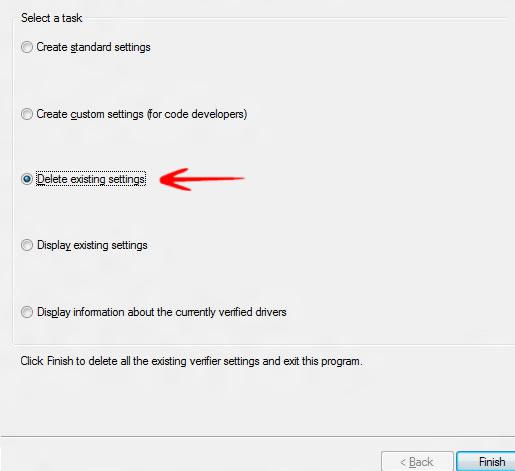
8. StepOnce your system is restarted, driver verifier is now enabled. In case you need to disable it, follow step 1 and once the driver verifier is started, select Delete existing settings


I did the driver verifier thing and was told to restart, i did and now by computer is in a loop saying there is a problem and it will restart and it does and it goes thru the same thing over and over restart, the the is a problem and restarts. I have to bring it into a shop now to try to get it to work again.Thank you very much
As Jeff said, this will cause your PC w8 os to loop and try to repair. But cant fix itself. My fix was going into safemode and disabling driver verifier as stated in step #8. Rebooted as asked, and i was back to my login screen. My guess is during the first reboot, when drivers are being verified. Once it hits that bugged driver, it reboots the system. I guess, im going to have to find another way of finding that buggy driver.
How do you use the verifier so it won’t go into a loop which is difficult to get out of?
Wish I’d read the comments before trying this myself. Followed instructions and immediately on restart it gave me BSOD error then couldn’t load windows and had to system restore itself to get Windows back.