 Data Execution Prevention (DEP) is that technologies which prevents code from being executed in certain regions of memory that are for storage. In this tutorial, we are showing you how to disable data execution prevention in Windows 8.
Follow this link to: Disable DEP in Windows 7 or Vista
Steps to disable DEP for programs
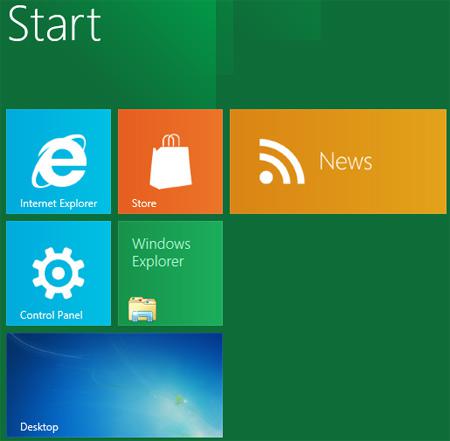
1. Step Open the Desktop by clicking Desktop tile on the Start Screen.
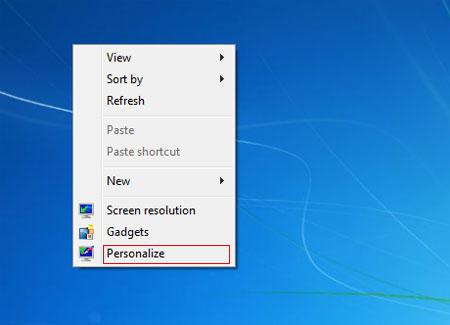
2. Step Next, Right click on your desktop and select Personalize.
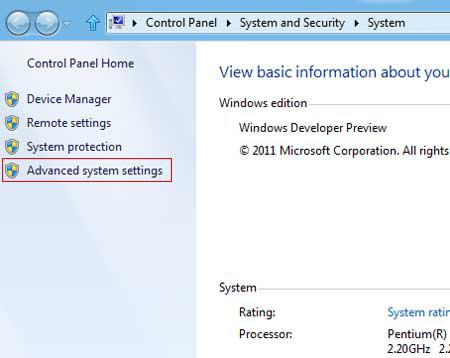
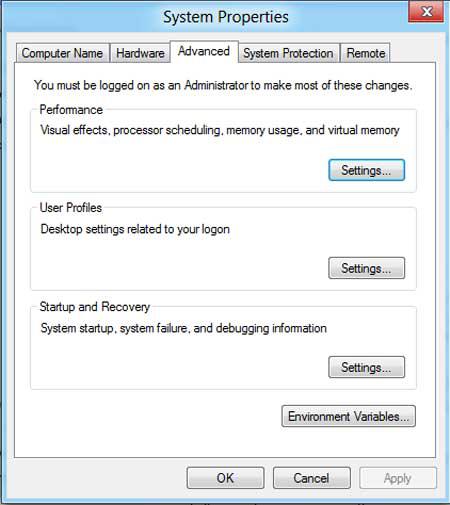
3. Step Next, click on the ‘Advanced system settings‘.
4. Step Next, click on the Settings.
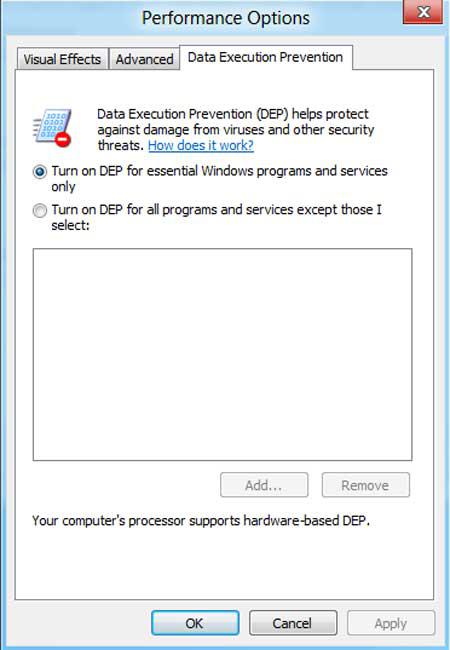
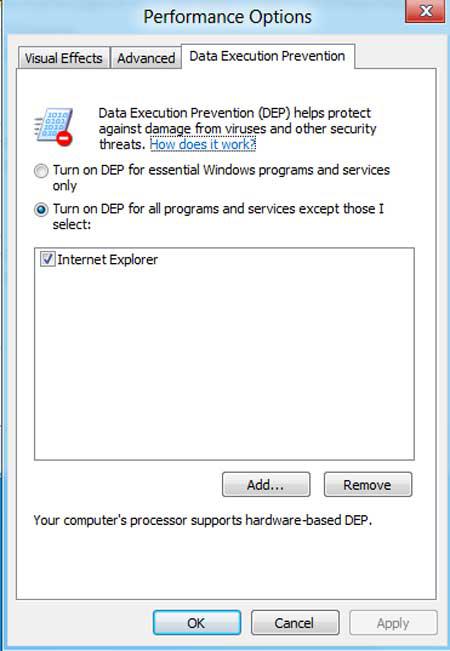
5. Step Now, click on the Data Execution Prevention tab.
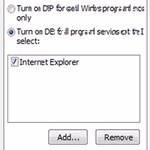
6. Step Next, click on ‘Turn on DEP for all programs and services except those I select’ and then click on the Add button.
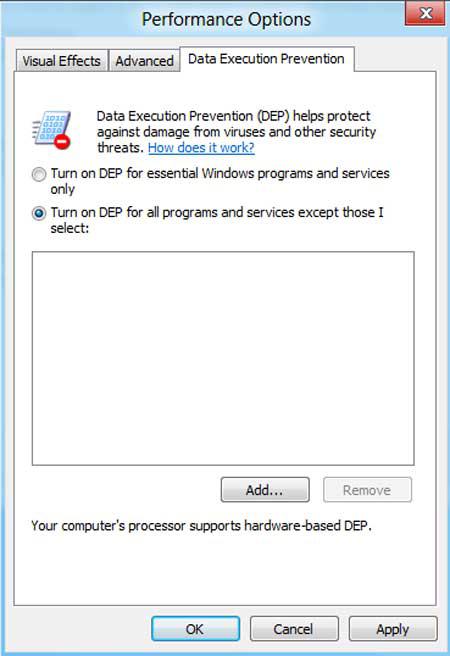
7. Step Next, Browse to the location of the program (executable – .exe) that you want to disable DEP. Then click on the Open button.

8. Step Next, click on the OK button.
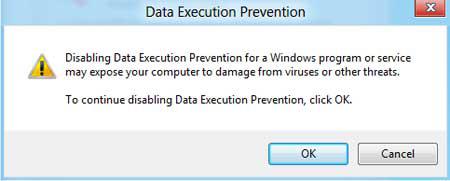
9. Step Finally, click on the Apply and then OK. Then you should restart your computer in order for the changes to take place. That are the complete steps to disable data execution prevention in Windows 8.
Conclusion
It is recommended to enable DEP as it helps to prevent attacks and exploits that would normally be able to run freely on your system.

