To add a border in Photoshop you don’t need to know much. Really it’s very simple.
Steps to add a border in photoshop
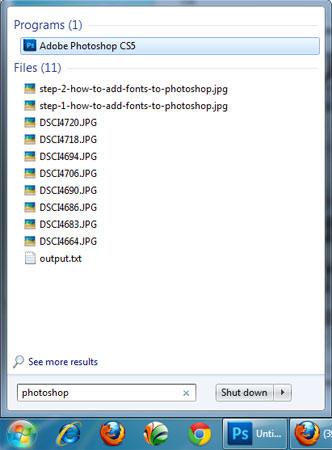
1. Step Open Photoshop program. Click on Start and type ‘photoshop’ in Search programs and files and press Enter. Alternatively, you can also open the Photoshop by clicking Start >> All Programs >> Adobe Photoshop
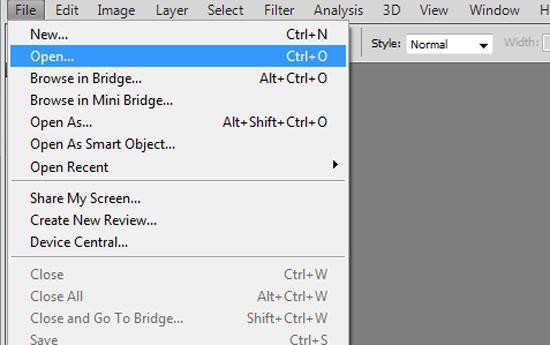
2. Step Open the image where you want to add border. To open image, click on File >> Open
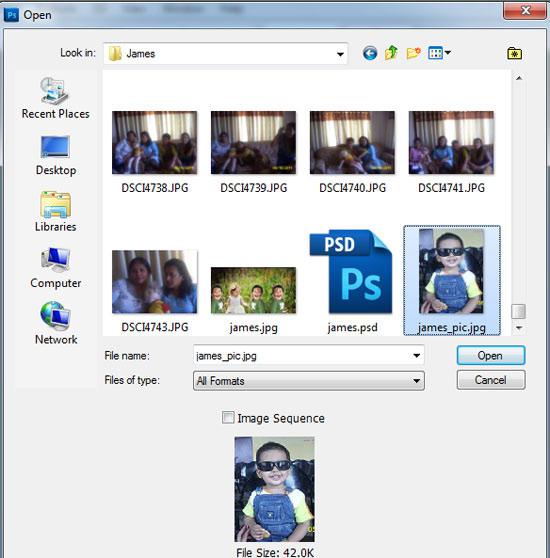
3. Step In the opened “open dialog box” locate and select the image you want to open. Then click Open
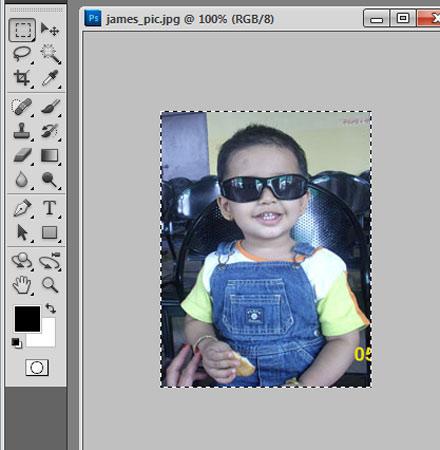
4. Step Now click on the Rectangular Marquee Tool (Shortcut – M) and make selection around the image. You must make selection like the way i made it in the screenshot.
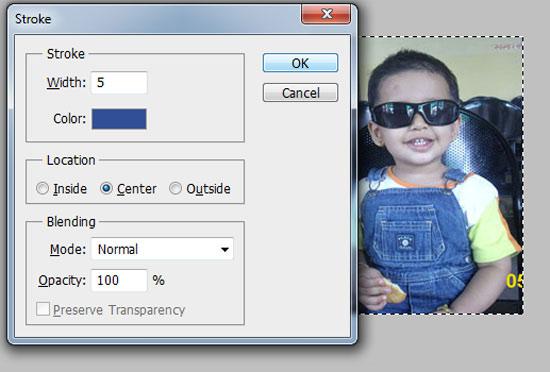
5. Step Now click on the Edit >> Stroke located on the menu bar at the top.

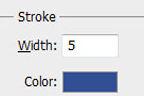
6. Step A Stroke window appears. Set the Width = 5. If you want to choose another color then click on color picker and select the color of your choice. Finally, click on OK.
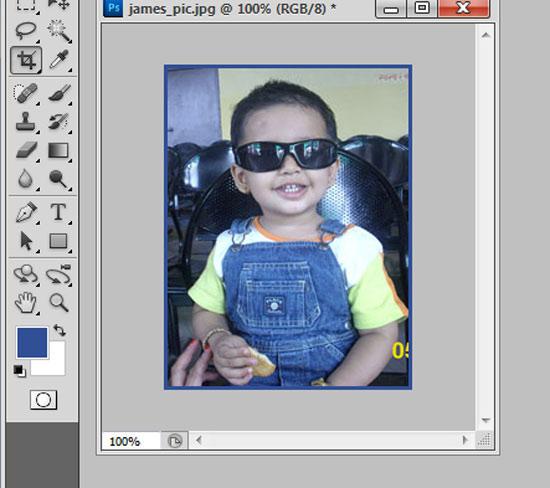
7. Step Now you will see a border around the image. That are the complete steps to add a border in photoshop.
Adding border to your image looks cool. And sometimes you might require it to make your image more attractive.

