If you want to edit your hosts file in Windows 7, you might face the error “access denied”. This is very normal, because it’s a protected system file. A great freeware utility called HostsMan allows you to edit hosts file in Windows 7 through a comfortable editor.

Edit Hosts file via App/GUI
1. Download HostsMan (Hosts File Editor)
HostsMan includes a handy editor for editing the Windows hosts file.
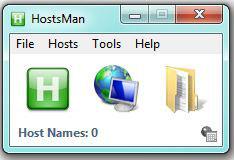
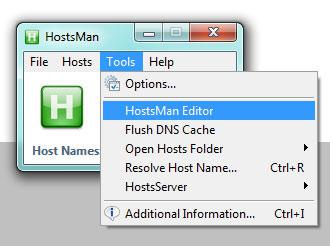
2. Step After installing HostsMan start the tool and click on “Tools” and then on “HostsMan Editor”, that’s the editor you can use to modify your hosts file in Windows XP, Vista, 7.
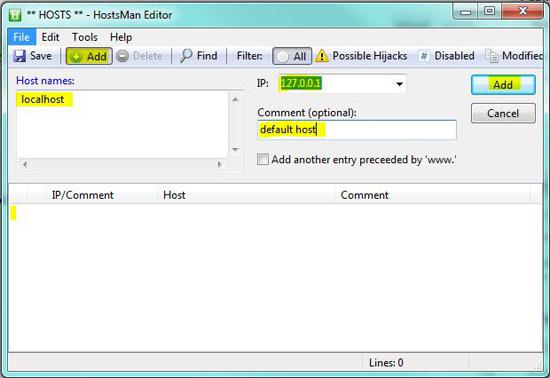
3. Step As host name enter the domain you want to assign to a certain IP, e.g. localhost for 127.0.0.1 or add the google DNS domain and their IP. There are loads of hostnames you could add here.
Other Features
The shortcut CTRL + R allows you to see if the the hostnames resolve properly, handy!
But HostsMan can do much more, it can not only help you to edit your hosts in Windows 7, it can also flush your DNS cache, scan your hosts file for certain entries, open your hosts file via CMD, Explorer or Notepad, count your hosts name, optimize your hosts file or exclude items from it. So, it’s definitely a very cool tool to tweak your hosts file.
Windows 7 Hosts File Location
If you want to edit your hosts file manually, you need to know the location:
C:WindowsSystem32driversetc
Windows 7 Hosts File: Access Denied
Should you receive the error access denied and you don’t want to use HostsMan to edit it via a GUI, you should read this tutorial that will show you how to edit the hosts file properly:


Looks like a very useful little program.
You can actually edit the host file just by editing it in notepad. Just right click on notepad and select “Run as Administrator” then go to File>Open and navigate to your host file C:\Windows\System32\drivers\etc
You might have to change the file type to “All Files” in for the file to show up.
Then just edit away!