Did you download our package of 1000 Windows 7 fonts, but you don’t know how to install them?
This is a tutorial that will explain you how to install new fonts in Windows 7 manually or automatically and how you can install fonts without the need to have them in your Windows fonts folder (sounds impossible, but it’s not).
Important: This is a tutorial for beginners who don’t know how to install fonts, skip this part if you want to find out how to install fonts using a shortcut.
Installing fonts is very easy. All you have to do is to copy them into your Windows font folder. For most people this won’t be a problem, but for beginners this might become a tough job.
Installing fonts manually (one by one)
1. Step Extract the fonts to a folder on your drive.
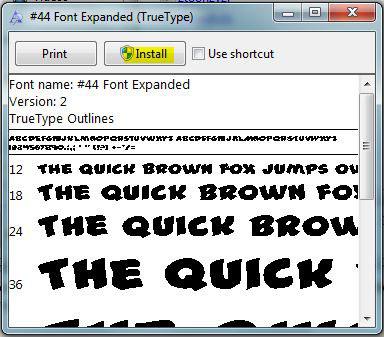
2. Step Double-click on every font that you want to install
3. Step Click on “Install”:
Mass-Install fonts in Windows 7
Shortcuts that we will use:
- STRG + A = Select ALL
- STRG + C = Copy
- STRG + V = Paste
1. Step Extract your fonts and select them all (STRG + A), then copy them into your clipboard (STRG + C)
2. Step Open up the Windows Explorer (Windows key + E)
3. Step Goto the partition C: or wherever you installed Windows and double-click on “Windows”
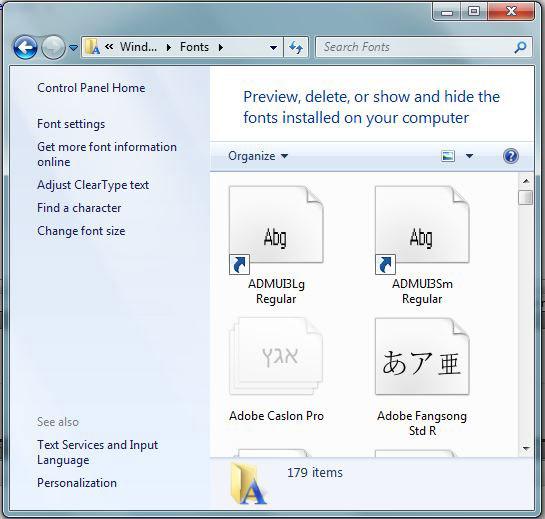
4. Step Now look for a folder “Fonts” with a little icon, double-click on it again.
5. Step Paste all your fonts into this folder via STRG + V:
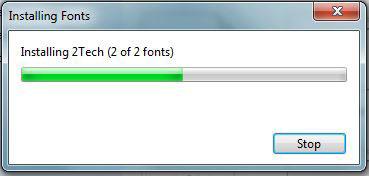
Windows should now auto-install all of the fonts that you copied into your clipboard.
That’s how it will look like:
Installing fonts using a shortcut (advanced)
Let’s say your partition C: is running out of space and you don’t have any room for new fonts, but you have another partition that still has plenty of room. How would you now install your fonts without the need to copy them all into your Windows fonts folder?
Luckily, there’s a simple trick that you can use to do that!
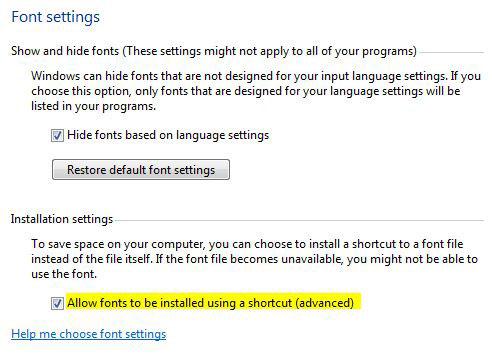
When you are inside your Windows fonts folder, click on “fonts settings”. You can also access it via the control panel.
Next, make sure that the option “Allow fonts to be installed using a shortcut” is checked:
Now, double-click on a font. You will notice a new option “Use shortcut”:
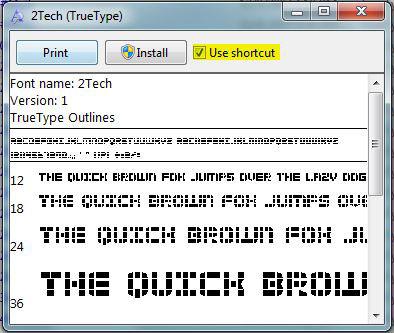
If this option is checked, it won’t copy the font into your Windows font folder, instead it will create a symbolic link to your Windows folder. Sidenote: Should you remove the font your link will be broken and you can no longer use the font in Windows 7.


Do you know if a shortcut to a folder on a websites server would work like this too so that desired fonts can be used and displayed on a web page
A nice little tip after checking that shortcut box. You can go into a folder with all your fonts, and go Select all files > Right-click > Install as shortcut.
I got A LOT of fonts, so that saves time and space very efficiently :]
are these kind of changes available in home premium?
because, I try to do the same thing that example says and install and use shortcut options don’t appear available.
thanks for answering
We have one new system with Windows 7 64 Bit on it.
When you look at the Fonts Folder using Control Panel, only 10 fonts show in the folder, despite the fact that there are 606 installed. Applications can use them just fine. We do run Suitcase Fusion 2 also.
It seems to be common complaint when we google it, but there is no “fix” or explanation that we can find.
Any thoughts?
Thank you!!
I installed a font onto my computer but word and notepad and just about everything i’ve tried just prints a blank spot, but i can use character map to copy it into my document. How can I get it to work?
Chris, your font simply does not include the icon that you are copying from character map. Not all fonts include all characters. Sorry man, download another font that includes the icon