Thanks to Steam, taking screenshots in Portal 2 and other Steam games is really easy. Back in Februrary, Valve added a nice little screenshot feature to Steam. Here’s how to use it.
1. Step While you’re in Portal 2 or any other Steam game with the Overlay UI hit F12 and Steam will automatically take a screenshot for you.
2. Step If Steam takes a screenshot you will see it in the right corner of your screen and the screen will freeze for a nano-second.
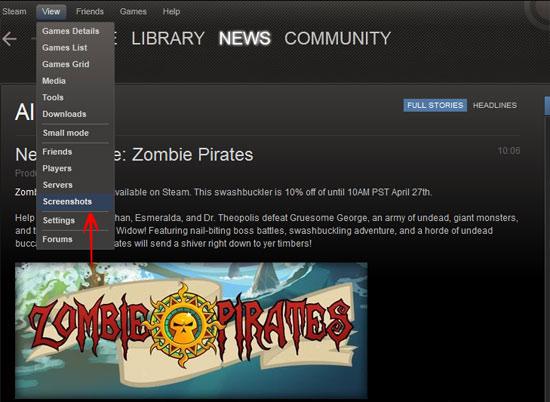
3. Step When you’re done playing Portal 2, open up Steam. Click on View and then from the dropdown select Screenshots
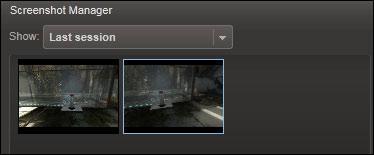
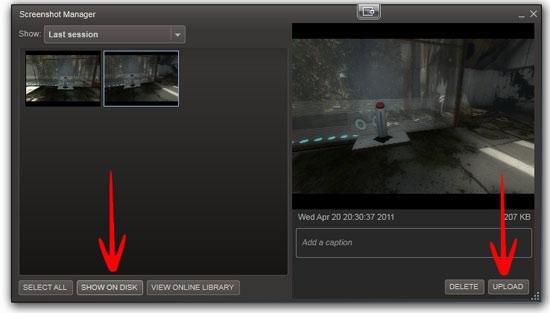
4. Step Either preview the Portal 2 screenshots within Steam or click on “Show On Disk” to view the screenshots with your favorite photo editor.
Where does Steam store screenshots on your hard drive?
Well, if you want to copy the screenshots manually, you will need to know where Steam stores the screenshots.
Steam stores all of your user-related data in
C:\Program Files (x86)\Steam\userdata\
However, there are many subfolders with save games and screenshots, so the easier way is to open up the Steam screenshot manager as describe above (step 1 -3 ) and then at the bottom it says “Show on Disk” (see screenshot above)

