Here at windows7themes.net, we love the registry editor, we love it so much that we added it to the control panel!

By typing regedit into the Run windows you can launch the Registry Editor, but you can also add the option to open the Registry Editor right to your Control Panel.
Follow the steps mentioned below to add or remove “Services” from the Control Panel
Steps to add Registry Editor to the Control Panel in Windows 8
Tip: This works in Windows 7
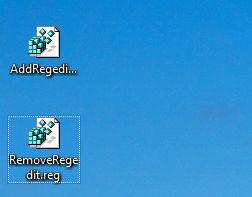
1. Step First of all download AddRegedit.zip and extract all the files. You will see two files are there AddRegedit.reg and RemoveRegedit.reg.
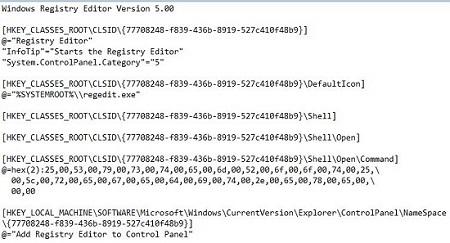
2. Step AddRegedit.reg file contains following code.
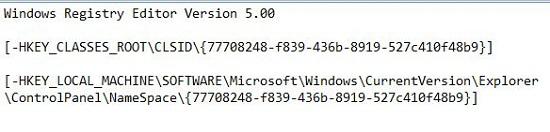
3. Step RemoveRegedit.reg file contains following code.
4. Step To add the Registry Editor to the Control Panel in Windows 8 double click on the AddRegedit.reg file.
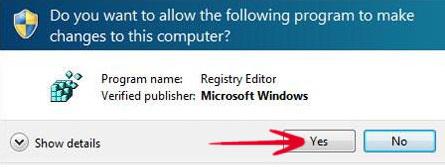
A User Account Control (UAC) dialog box will open. Click on Yes option.
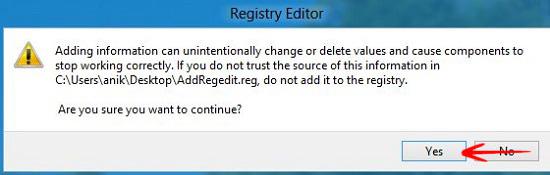
5. Step Now, in the Registry Editor click on Yes to add the keys and values contained in AddSRegedit.reg to the registry.
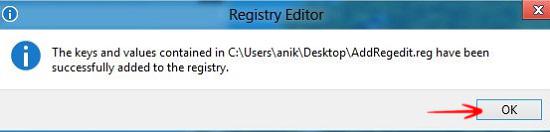
6. Step After doing that, you will see a confirmation window, click on OK. You are done. You have successfully added Registry Editor to the Control Panel.
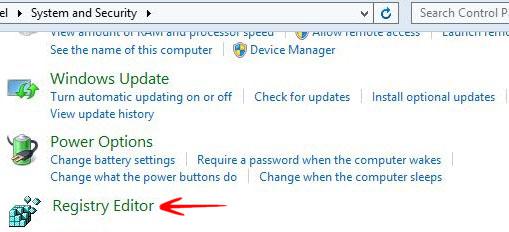
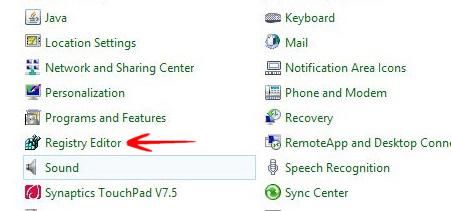
Now, go to Apps Search window and search for Control Panel and click on the result that appears in the left pane. You can see the Registry Editor option in the control Panel. When using the category view of the Control Panel you can find the Services option under the System and Security category.
Category View of Control Panel:
Icon View of Control Panel:
7. Step Now, if you want To remove the “Registry Editor” option from the Control Panel in Windows 8 double click on the RemoveServices.reg file and follow all the steps described above.

