If you want to add fonts to Photoshop, you only have to add them to Windows 7 and they will be automatically available in Photoshop. Here’s how you install fonts properly.

First of all you obviously need to download some fonts or copy them to your computer. A good source with free fonts is http://www.dafont.com
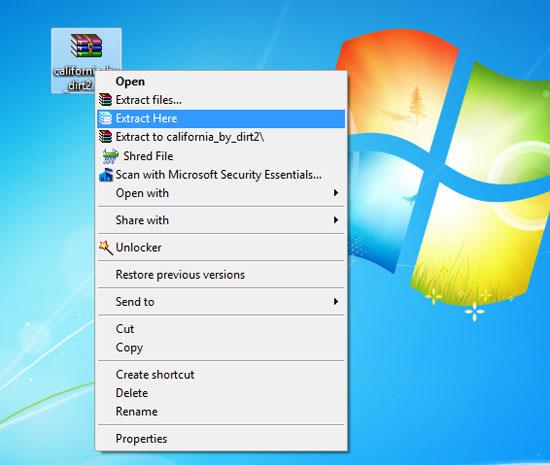
1. Step I have downloaded ‘California’ font from dafont.com. Click on Download to download it. And then save it to your desktop or any other location. Then extract the downloaded font zip file and click ‘Extract Here’ to extract it.
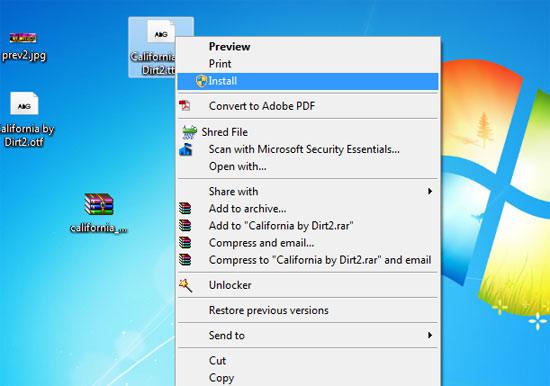
2. Step Then right click your font ‘California by Dirt2.ttf’ and choose ‘Install’. This will install the font.
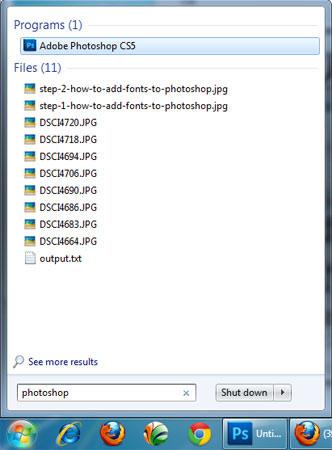
3. Step Now open Photoshop. Click on Start and type ‘photoshop’ in Search programs and files and press Enter. Alternatively, you can also open the Photoshop by clicking Start >> All Programs >> Adobe Photoshop
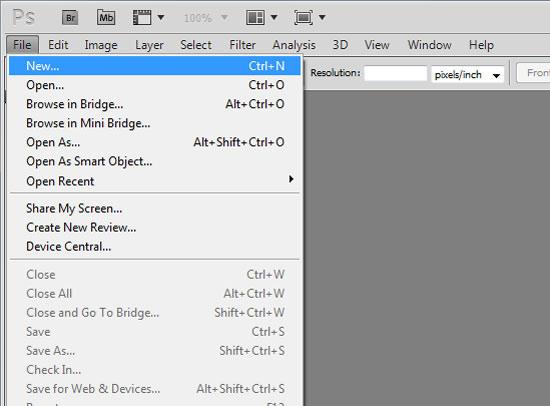
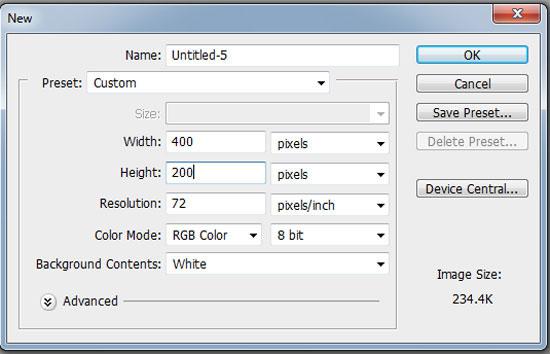
4. Step In Photoshop, click on File >> New
5. Step In the opened, New dialog box, set a width and height
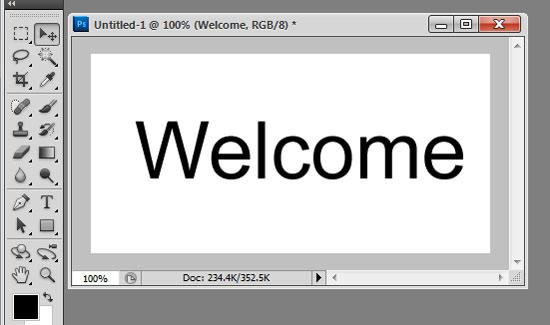
6. Step Now click on Horizontal Type Tool (T) and click on the document area to type. Then type some text.
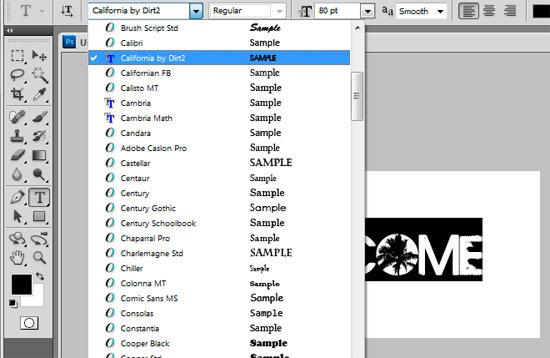
7. Step Highlight the text you have just typed and then Select the font you have added earlier to Windows 7 ‘california’ on the set the font family box on the option bar. Note, when you install font in Windows7, it will automatically appear in Photoshop.
Videos
When you install fonts on Windows 7, they will automatically appear in Photoshop. The only thing you have to do is, highlight the text and choose the new font you have installed.

