 Telnet is a service for accessing the command-line utility on a remote host communication. If you want to know how to telnet in Windows 7, follow this tutorial.
Open Programs & Features
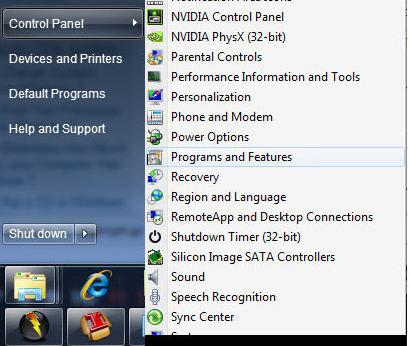
1. Step In the Control Panel click on “Programs and Features”:
If you want to display the Control Panel as a menu on the Start menu, you should read this guide:
How to customize Windows 7 Start Menu
Turning Windows Features on or off
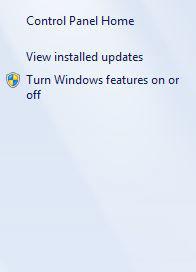
2. Step Next, you will see the entry Turn Windows features on or off, click on it:
Enable Telnet Client in Windows 7
3. Scroll down the list until you find the entry “Telnet Client” and check that option:
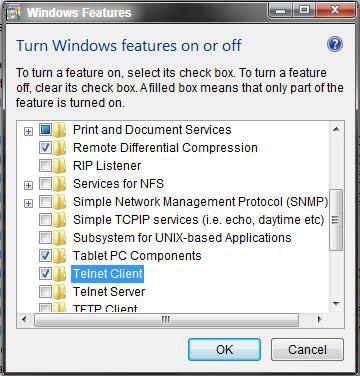
Confirm with “Ok”.
Accessing Telnet via Command Prompt
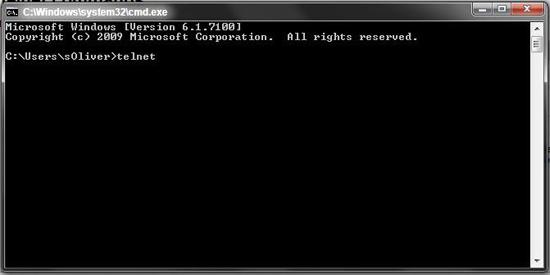
Now you can access telnet via the command line utility.
Enter telnet to start the telnet utility in Windows 7:
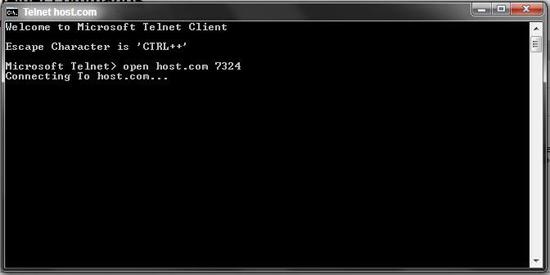
Establish a telnet connection to your server, enter open hostname.com port:


i want that whenever user access the system remotely via telnet, it must ask for login name and passowrd
Thanks very much, i acutally need the server not the client.