Crypto-mining is a fun hobby. In this article I will take a detailed look at building a mining rig on a budget, what hardware to avoid and how to build quick&dirty. Let the fun begin!
There are plenty of “build a mining rig” guides out there, but most of them lack pictures so I documented the building process. Since I have built 3 other rigs, the whole process took about 30 minutes. If you are new to this I expect this will take you about 1 hour to 2 hours tops. Make sure you have everything close by, including a drilling machine and all the power cables.
Pre-Requisites
ASUS motherboards with 3 PCIe x1 and 2 PCIe x16 slots are the best, but since we’re on a budget I would recommend the ASUS M5A97. If you don’t mind spending a bit more, the A88X Plus is the best mining board for 5-card rigs. I dont recommend 6 card mining rigs because they are not stable enough. I couldn’t find any high-quality boards that support 6 cards. There are some available but from bad manufacturers. Stay away from Intel and ASRock!
- Graphic cards (4 cards for small basket, 5 cards for bigger basket) – $400 to $650
- ASUS Motherboard M5A97 – $60 on ebay
- Cheap small basket (for small R7 cards: 30 x 40 x 21 cm) – $20 on Amazon
- Screwdriver, drilling machine with small drilling bit, hammer, screws, 1 nail – $20 on ebay
- 2x USB riser cables (PCIe x1 to PCIe 16x) – $10+ on ebay
- 2x PCIe x1 riser cables (non-powered is fine!) – $5 on ebay
- Add2PSU adapter – $20, ebay
- 2 PSUs 650 to 700W bronze certified- $80 each
Total costs: $630 to $880 for a 4-card rig with decent hashing power.
Warning: You should never buy cheap PSUs. Make sure they are at the very least bronze 80 certified for best efficiency.
A Note On PSUs: Enermax and Coolermaster
I recommend buying only Coolermaster OR Enermax. Also, you dont need 800W PSUs. A 650W as a “support” PSU and a 700W PSU to power the motherboard, CPU, RAM, SSD and two other cards is sufficient. I’d go as far as and say that even that is overpowered.
Avoid Intel, ASRock, Buy ASUS and AMD
To save money I bought 2 cheap 7950’s cards from ebay for 100 bucks each and 2 of the cheapest R7 cards with sufficient hashing power for my demands from Amazon. The mainboards I strictly do not recommend when on a budget is *any* ASRock board, including the ASRock H81 PRO BTC 1150. This board is of the cheapest quality and not worth the trouble. Buy ASUS and AMD only. Avoid Intel at all costs for any mining rig.
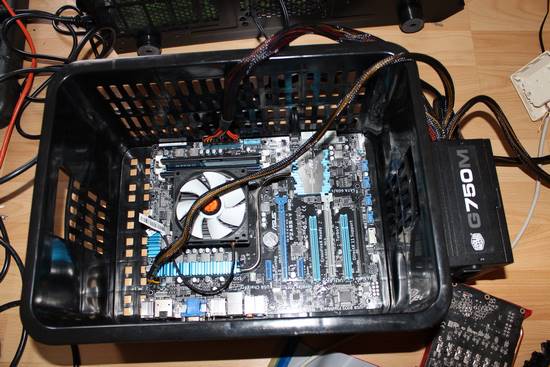
Motherboard in Basket:
1. Step Put the mainboard in the basket and connect it with PSU1. Don’t forget to connect the CPU power cable as well.
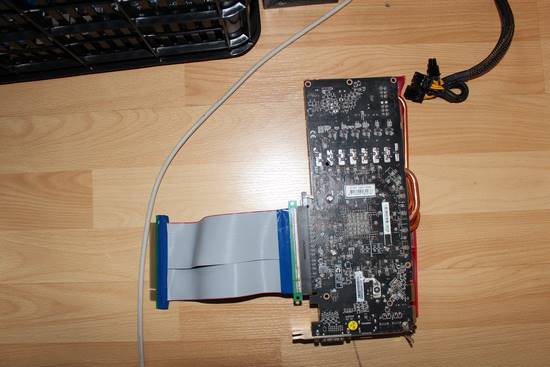
2. Step Connect the PCI riser cables to your cards. One for testing is sufficient now.
Connecting Add2PSU (PSU1+2):
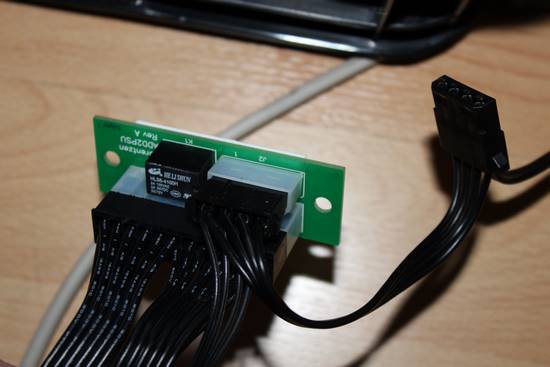
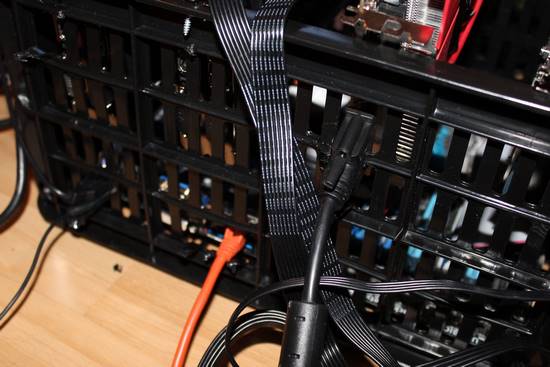
3. Step Connect the big fat motherboard power cable from your 2nd PSU (PSU2) with the Add2PSU board as seen below. Again, the cable from the second PSU!
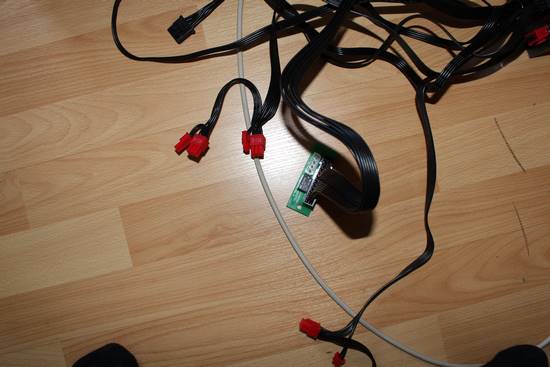
4. Step Connect a molex power connector from PSU1 (the PSU that you used in step 1) with the Add2PSU board, as seen below. This will connect your two PSUs so they can power the entire rig.
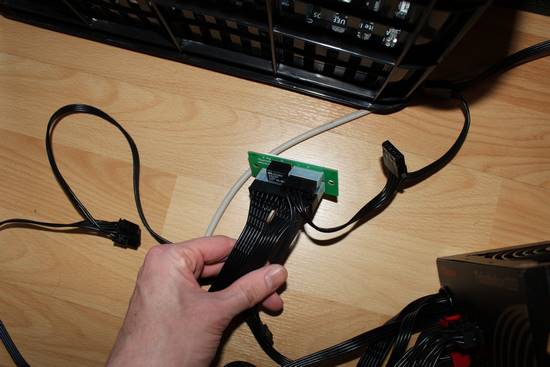
5. Step Closeup, confirm everything fits tightly:
First Test: Check LED + Fans
6. Step Add a graphic card now. My basket is a little small for the bigger graphic cards but thats actually an advantage in this case because I dont have to use a nail or screw to fix it, the weight of the card will take card of that. Connect the PCIe power cables with your card.
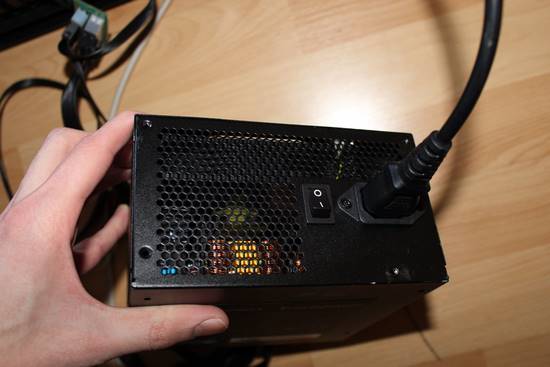
7. Step Time to test everything. Turn the PSU on and if you connected everything correctly, the LED on the mainboard should turn on.
When I was younger I always thought the power symbols were not very intuitive until I read its based on the binary system then it made sense to me. To make it easier to remember, remember it like this: The symbol is not a circle, it’s a “zero” (0=off) and the line is not a line it’s a “one” (1=on).
The standby symbol is a mix of line and circle, which indicates its not fully turned off aka low-power mode. So have a guess is it turned on or off in the picture below?
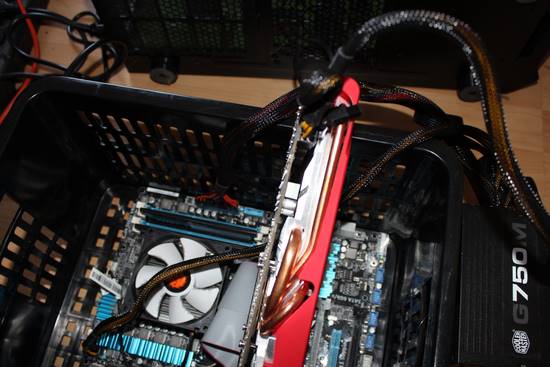
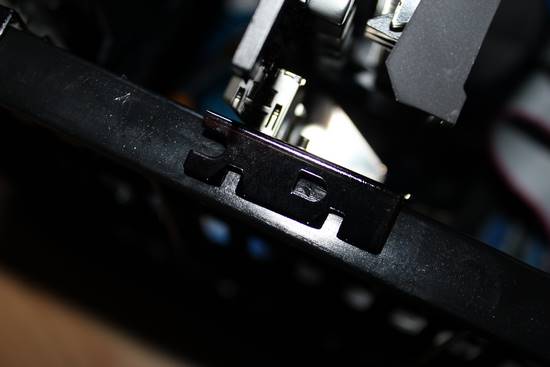
8. Step Time to give it a real try and see if everything boots up. Use a screwdriver to bridge the two POWER pins on your motherboard (usually the two on the bottom right closest to the middle). Consult your manual if you are unable to identify the PINs that turn on the computer. Bridge the POWER pins for 3 seconds and it will turn on.
8. Step Confirm that the CPU fan and the fan on your graphic cards are running. If so, we’re good, turn off your computer (use the buttons on your PSU or bridge the PINS again)
Fix Cards On Basket:
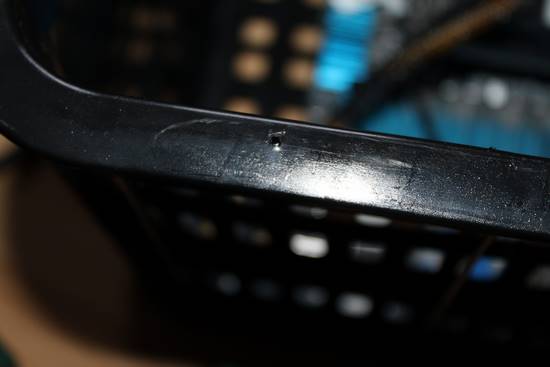
9. Step The other two cards I have are smaller cards (R7 370) so I need to fix them. Put the cards in the basket and check whether the fans have enough room (should be quite a gap between them). Then mark the position with a nail:
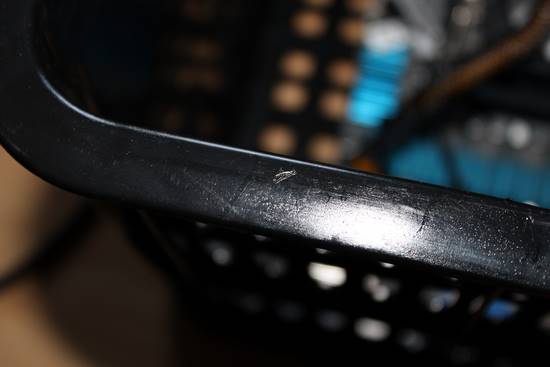
10. Step Use a hammer and a nail to make the indentation a little deeper. I actually used a little drill driver I had lying around.
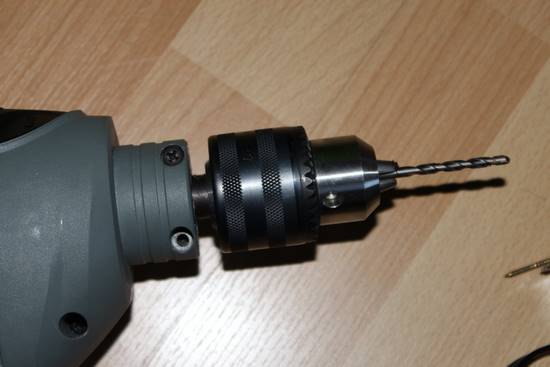
11. To actually drill into the plastic basket I needed a drilling machine. Luckily I still had a 1000 watt drilling machine lying around. I used the smallest drill bit for the hole. Make sure you have a screw or nail that will fit to some degree, doesn’t have to be a perfect match, simply eyeball it.
12. You should get something like this:
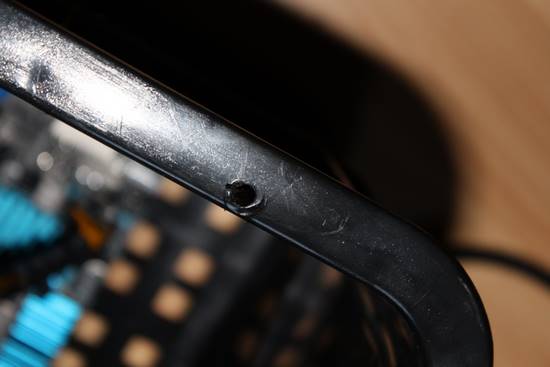
13. Then find that screw that will fit to some degree and you should have something like this. Again, eyeball this, no need for precision, this should be quick and dirty. Literally took me 30 min to set it all up from scratch.

Remove Blockage:
14. Time to remove parts of the basket so you can properly connect the cables. You will need to remove the parts that block the USB ports, ethernet and 1 DVI port.

15. You should now have something like this:
Verify Everything Is Connected:
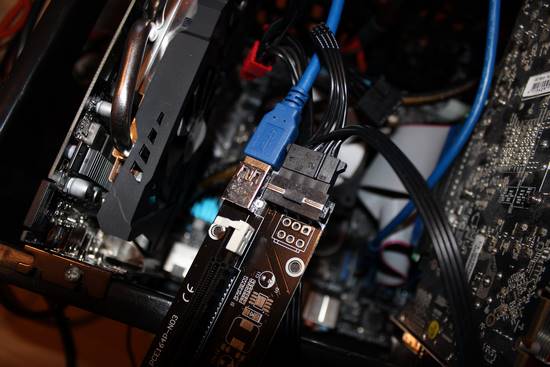
16. To connect your PCIe x16 cards we need a special pair of risers that use USB cables. Don’t forget to connect your USB riser cables with the power cables or the cards wont turn on, I always forget that since the other risers dont require that.
Basket Rig – Quick And Dirty Hack:
17. And there you have it, your 4-card mining rig on a low,low budget. It looks a bit silly in that small basket and you should probably get a bigger basket and then fix all of your cards but for me this was just a quick and dirty job. I have 3 other real rigs with fans on top (see below)

Final Thoughts
Mining is a fun hobby. To make it more profitable you should only mine blockchains that have a lot of potential e.g. Ethereum. Here’s a mining guide for Ethereum that I wrote some time ago.
In order to be as efficient as possible, consider overclocking and undervolting cards. Always build 4 to 5 card rigs. Always buy the cheapest cards with the best hash power to watt ratio.
Make sure you have enough circuits in your home and don’t connect all your rigs to the same one. In a best case scenario you can draw from 2 different circuits.


The 650W PSU is a Triathlor Enermax, the other one is from Coolermaster. Both are extremely reliable with 100% Japanese Electrolytic Capacitors == ultra durable.
Dont buy Corsair unless you want to burn your house.
2