A friend of mine has some problems with Windows 7, it will simply not recognize the DVD drive. Do you have a similar problem? Does your DVD drive not show up in Windows 7 properly? Well, if it’s not, here is the ultimate guide for fixing unrecognized drives.
This article will give you additional information about DVD Drive filters, which can get easily corrupted. Inside: .reg files to remove filters.
The problem that Windows 7 does not recognize your DVD drive is a result of corrupted registry keys. The registry keys in question are: “UpperFilters” and “LowerFilters”. You have to remove them from the registry. No worries, I created some .reg files that will help you to solve the problem and make Windows 7 recognize your DVD drive.
Method 1: Delete Registry Keys “UpperFilters / LowerFilters”
If you are not familiar with the registry, you can download the following registry keys that I just created. They will remove your UpperFilters and LowerFilters that can be damaged.
Link: Registry .reg file to remove UpperFilters
Link: Registry .reg file to remove LowerFilters
But you can also do it manually:
1. Step Open the registry:
2. Step Uncollapse [HKEY_LOCAL_MACHINE\SYSTEM\CurrentControlSet\Control\Class\{4D36E965-E325-11CE-BFC1-08002BE10318}]
Tip: Simply mark the folder “Class” and then enter “{4D36E965” to instantly jump to the correct registry key.
Important: Double-check that you are editing the correct registrysubkey! To do that, compare the registry keys “(Default)” and “Class”, they should be set to DVD/CD-ROM drives and CDROM.
3. Step Delete the key “UpperFilters” and LowerFilters:
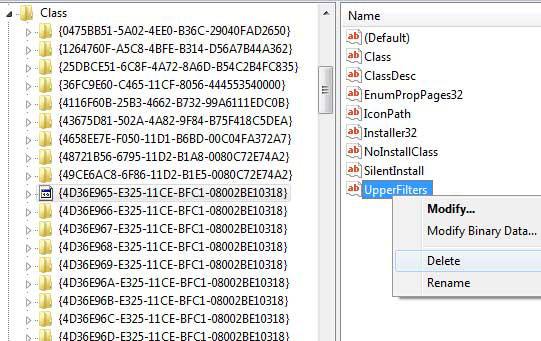
Important: If you don’t see the registry key “LowerFilters” then this method won’t help you and you should proceed with method 2.
If you delete the entries, you might have to reinstall CD/DVD burning tools.
Method 2: Disable Integrity Checks via Command Prompt
If method 1 doesn’t work, you should try to disable integrity checks via command prompt. Disabling integrity checks means that Windows 7 will not check for digitally signed drivers. You can learn more about this here: Disable driver signing in Windows 7
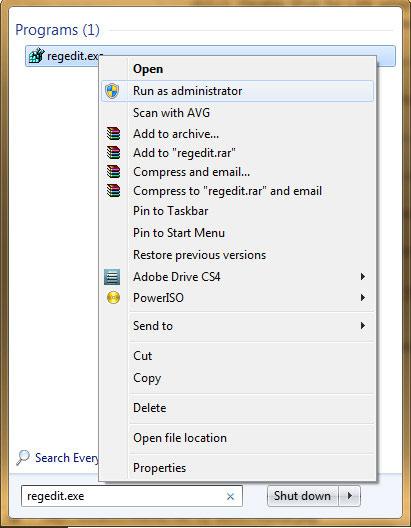
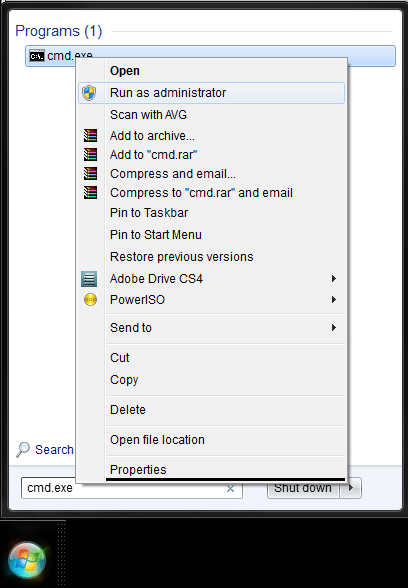
1. Step Run cmd.exe (command line utility) as admin:
2. Step Enter the following line:
bcdedit.exe -set loadoptions DDISABLE_INTEGRITY_CHECKS
Additional Information about DVD Drive Filters
Download DevCon, which is alternative to the Windows 7 Device Manager.
1. StepOpen up cmd.exe as admin:
2. Step Switch to the folder where you extracted DevCon to. Simply enter:
cd X:\path_to_devcon\i386 (replace X and path_to_devcon with your hard drive and the correct path)
Sidenote: Even on 64-bit machines you have to cd to the folder i386.
3. Step Enter the command “devcon stack gencdrom”:
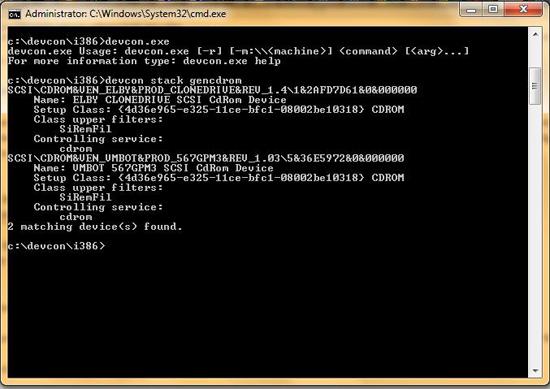
This is my output:
c:\devcon\i386>devcon stack gencdrom
SCSI\CDROM&VEN_ELBY&PROD_CLONEDRIVE&REV_1.4\1&2AFD7D61&0&000000
Name: ELBY CLONEDRIVE SCSI CdRom Device
Setup Class: {4d36e965-e325-11ce-bfc1-08002be10318} CDROM
Class upper filters:
SiRemFil
Controlling service:
cdrom
SCSI\CDROM&VEN_VMBOT&PROD_567GPM3&REV_1.03\5&36E5972&0&000000
Name: VMBOT 567GPM3 SCSI CdRom Device
Setup Class: {4d36e965-e325-11ce-bfc1-08002be10318} CDROM
Class upper filters:
SiRemFil
Controlling service:
cdrom
2 matching device(s) found.
It will list all matching devices and will tell you everything you need to know about DVD Rom Filters.
My virtual drives are using the UpperFilter SiRemFil (Filter driver for Silicon Image SATALink controllers)


Thank you so much! I tried everything that Windows 7 help was telling me to do, and none of it worked until I tried your first method and then restarted my computer.
So I just wanted to say thank you because it was giving me a lot of trouble. :)
Does shell hardware detection in stopped stage would be the reason. Because, i had the problem and i corrected it by going to run, and type net start shellhwdetection and pressing enter, thereby making the shell hardware detection service to start. Then i had no problem of this peculiar. If you trouble shoot in the problem stage, the error i got was “hardware detection might not have been detected” with the exclamation mark. I went to the event viewer to find that cdrom has a bad block continuouly for weeks. Now the problem got solved. Pl your remarks on this , sir,