 Do you own an Iomega NAS drive and want to upgrade your firmware? Here’s how it works
Tip: Only perform this firmware upgrade if something does not work or a newer firmware has special features
1. Step Download the correct firmware for your model. For the Iomega Home Media Network Drive you can download the firmware here – if you have a different version, click on Product Selection
2. Step Yes, you have to register to download the firmware and it’s a lengthy form – quite annoying!
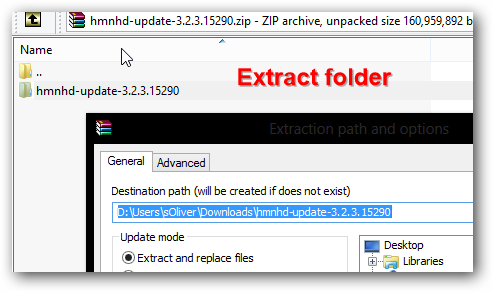
3. Step Download and extract the firmware
4. Step Go to the IP address that your router assigned to your Iomega drive. If you don’t know the IP, install the Iomega storage manager from your Iomega CD and then you can open it via the system tray rather than by entering the IP
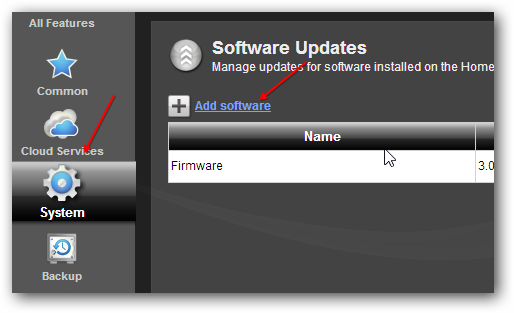
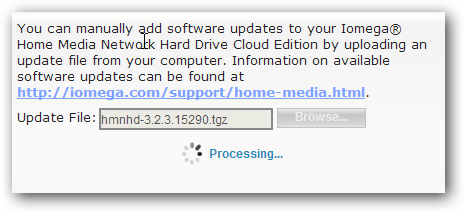
5. Step Click on System and then on Software Update. Click the Add Software link
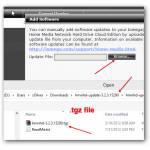
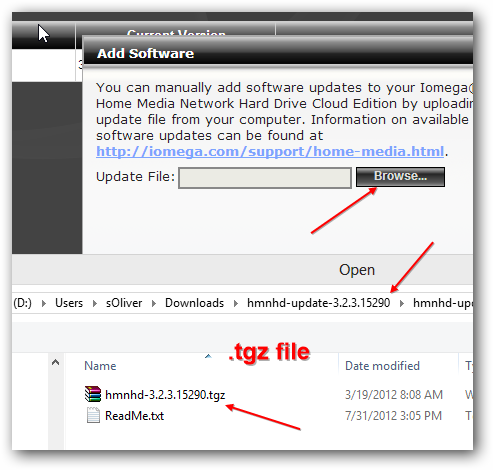
6. Step Browse to the downloaded firmware folder and select the .tgz file
7. Step Wait while it’s processing
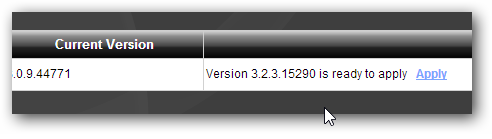
8. Step You can now apply the firmware upgrade. WARNING: DO NOT TURN OFF THE DEVICE WHILE PERFORMING THIS FIRMWARE UPGRADE
9. Step The device will reboot and the firmware will be automatically installed.
THIS WILL TAKE MINUTES! Patience
10. Step If you turn off the device you might end up breaking the device, so don’t do it and have some patience. If the the device hangs, wait for 1h to see if it resolves. If it doesn’t you might have to buy a new NAS device or send it in for repairs so the tech support can fix the broken firmware

